[토이프로젝트]대출이자계산기 만들어보기 - 5편 : 플레이스토어와 앱스토어에 어플리케이션 배포하기
- -
어느새 "대출이자계산기 만들어보기" 챕터의 마지막장입니다.
이번 장에서는 어플리케이션 배포를 위해 필요한 부분과 배포 과정을 알아보겠습니다.
5-1. 앱 출시 준비하기
마켓에 앱을 올리기 위해서는 앱 정보(이름, 아이콘 등), 앱 스크린샷등 여러 정보와 자료들이 필요합니다.
앱 이름 바꾸기
앱 이름은 간편한 대출이자계산기로 하겠습니다.
웹에서 보여지는 타이틀도 동일한 이름으로 바꿔줍니다.
Web
layout.tsx
export const metadata: Metadata = {
  title: "간편한 대출이자계산기",
  description: "대출이자계산기를 간편하게 사용해 보세요",
};

declare global {
  interface Window {
    Kakao: any;
    shareChannel: any;
    alertChannel: any;
  }
}
app/page.tsx
import Calcurator from "./components/form/form";

export default function Home() {
  return (
    <main>
      <div className="container">
        <h1>간편한 대출이자계산기</h1>

        <Calcurator />
      </div>
    </main>
  );
}
Android
안드로이드 스튜디오를 실행하고 AndroidManifest.xml 파일에서 android:label 부분에 이름을 입력합니다.
AndroidManifest.xml

iOS
Xcode를 실행하고 Info에 Bundle display name에 앱 이름을 입력합니다.

이후 앱을 실행해보면 이름이 변경된 것을 확인할 수 있습니다.


추가로 앱스토어에 언어란에 KO를 표기하기 위해서 따로 설정이 필요합니다.

프로젝트 - iOS - Runner.xcodeproj 파일을 vscode로 엽니다.
developmentRegion과 knowRegions의 en -> ko로 변경합니다.


스플래쉬 화면 적용하기
스플래쉬 이미지란 앱 실행시 앱이 로드되기전까지 보여지는 화면입니다.
스플래쉬 화면은 Flutter native splash를 사용해서 만들어보겠습니다. Flutter native splash를 사용하면 애니메이션이 들어간 스플래쉬 화면은 만들 수 없지만 간단한 스플래쉬 화면 정도는 쉽게 만들 수 있습니다.
먼저 패키지를 다운받습니다.
flutter pub add flutter_native_splash
스플래쉬 화면에 사용될 이미지를 준비하고 프로젝트 루트 경로로 assets/images 폴더와 flutter_native_splash.yaml 파일을 추가합니다.

yaml 파일에는 아래 코드를 작성합니다.
추가한 이미지 경로를 image: assets/images/... 부분에 추가합니다.
배경색을 바꾸고 싶은 경우 color: "#ffffff"를 수정하면 됩니다.
flutter_native_splash.yaml
flutter_native_splash:
  # This package generates native code to customize Flutter's default white native splash screen
  # with background color and splash image.
  # Customize the parameters below, and run the following command in the terminal:
  # dart run flutter_native_splash:create
  # To restore Flutter's default white splash screen, run the following command in the terminal:
  # dart run flutter_native_splash:remove

  # IMPORTANT NOTE: These parameter do not affect the configuration of Android 12 and later, which
  # handle splash screens differently that prior versions of Android.  Android 12 and later must be
  # configured specifically in the android_12 section below.

  # color or background_image is the only required parameter.  Use color to set the background
  # of your splash screen to a solid color.  Use background_image to set the background of your
  # splash screen to a png image.  This is useful for gradients. The image will be stretch to the
  # size of the app. Only one parameter can be used, color and background_image cannot both be set.
  color: "#ffffff"
  #background_image: "assets/background.png"

  # Optional parameters are listed below.  To enable a parameter, uncomment the line by removing
  # the leading # character.

  # The image parameter allows you to specify an image used in the splash screen.  It must be a
  # png file and should be sized for 4x pixel density.
  image: assets/images/splash.png

  # The branding property allows you to specify an image used as branding in the splash screen.
  # It must be a png file. It is supported for Android, iOS and the Web.  For Android 12,
  # see the Android 12 section below.
  #branding: assets/dart.png

  # To position the branding image at the bottom of the screen you can use bottom, bottomRight,
  # and bottomLeft. The default values is bottom if not specified or specified something else.
  #branding_mode: bottom

  # The color_dark, background_image_dark, image_dark, branding_dark are parameters that set the background
  # and image when the device is in dark mode. If they are not specified, the app will use the
  # parameters from above. If the image_dark parameter is specified, color_dark or
  # background_image_dark must be specified.  color_dark and background_image_dark cannot both be
  # set.
  #color_dark: "#042a49"
  #background_image_dark: "assets/dark-background.png"
  #image_dark: assets/splash-invert.png
  #branding_dark: assets/dart_dark.png

  # From Android 12 onwards, the splash screen is handled differently than in previous versions.
  # Please visit https://developer.android.com/guide/topics/ui/splash-screen
  # Following are specific parameters for Android 12+.
  android_12:
    # The image parameter sets the splash screen icon image.  If this parameter is not specified,
    # the app's launcher icon will be used instead.
    # Please note that the splash screen will be clipped to a circle on the center of the screen.
    # App icon with an icon background: This should be 960×960 pixels, and fit within a circle
    # 640 pixels in diameter.
    # App icon without an icon background: This should be 1152×1152 pixels, and fit within a circle
    # 768 pixels in diameter.
    image: assets/images/splash.png

    # Splash screen background color.
    color: "#ffffff"

    # App icon background color.
    #icon_background_color: "#111111"

    # The branding property allows you to specify an image used as branding in the splash screen.
    #branding: assets/dart.png

    # The image_dark, color_dark, icon_background_color_dark, and branding_dark set values that
    # apply when the device is in dark mode. If they are not specified, the app will use the
    # parameters from above.
    #image_dark: assets/android12splash-invert.png
    #color_dark: "#042a49"
    #icon_background_color_dark: "#eeeeee"

  # The android, ios and web parameters can be used to disable generating a splash screen on a given
  # platform.
  #android: false
  #ios: false
  web: false

  # Platform specific images can be specified with the following parameters, which will override
  # the respective parameter.  You may specify all, selected, or none of these parameters:
  #color_android: "#42a5f5"
  #color_dark_android: "#042a49"
  #color_ios: "#42a5f5"
  #color_dark_ios: "#042a49"
  #color_web: "#42a5f5"
  #color_dark_web: "#042a49"
  #image_android: assets/splash-android.png
  #image_dark_android: assets/splash-invert-android.png
  #image_ios: assets/splash-ios.png
  #image_dark_ios: assets/splash-invert-ios.png
  #image_web: assets/splash-web.gif
  #image_dark_web: assets/splash-invert-web.gif
  #background_image_android: "assets/background-android.png"
  #background_image_dark_android: "assets/dark-background-android.png"
  #background_image_ios: "assets/background-ios.png"
  #background_image_dark_ios: "assets/dark-background-ios.png"
  #background_image_web: "assets/background-web.png"
  #background_image_dark_web: "assets/dark-background-web.png"
  #branding_android: assets/brand-android.png
  #branding_dark_android: assets/dart_dark-android.png
  #branding_ios: assets/brand-ios.png
  #branding_dark_ios: assets/dart_dark-ios.png
  #branding_web: assets/brand-web.gif
  #branding_dark_web: assets/dart_dark-web.gif

  # The position of the splash image can be set with android_gravity, ios_content_mode, and
  # web_image_mode parameters.  All default to center.
  #
  # android_gravity can be one of the following Android Gravity (see
  # https://developer.android.com/reference/android/view/Gravity): bottom, center,
  # center_horizontal, center_vertical, clip_horizontal, clip_vertical, end, fill, fill_horizontal,
  # fill_vertical, left, right, start, or top.
  #android_gravity: center
  #
  # ios_content_mode can be one of the following iOS UIView.ContentMode (see
  # https://developer.apple.com/documentation/uikit/uiview/contentmode): scaleToFill,
  # scaleAspectFit, scaleAspectFill, center, top, bottom, left, right, topLeft, topRight,
  # bottomLeft, or bottomRight.
  #ios_content_mode: center
  #
  # web_image_mode can be one of the following modes: center, contain, stretch, and cover.
  #web_image_mode: center

  # The screen orientation can be set in Android with the android_screen_orientation parameter.
  # Valid parameters can be found here:
  # https://developer.android.com/guide/topics/manifest/activity-element#screen
  #android_screen_orientation: sensorLandscape

  # To hide the notification bar, use the fullscreen parameter.  Has no effect in web since web
  # has no notification bar.  Defaults to false.
  # NOTE: Unlike Android, iOS will not automatically show the notification bar when the app loads.
  #       To show the notification bar, add the following code to your Flutter app:
  #       WidgetsFlutterBinding.ensureInitialized();
  #       SystemChrome.setEnabledSystemUIMode(SystemUiMode.manual, overlays: [SystemUiOverlay.bottom, SystemUiOverlay.top], );
  #fullscreen: true

  # If you have changed the name(s) of your info.plist file(s), you can specify the filename(s)
  # with the info_plist_files parameter.  Remove only the # characters in the three lines below,
  # do not remove any spaces:
  #info_plist_files:
  #  - 'ios/Runner/Info-Debug.plist'
  #  - 'ios/Runner/Info-Release.plist'
스플래쉬 화면을 생성해보겠습니다.
flutter pub run flutter_native_splash:create

생성된 스플래쉬 화면이 앱 실행시 잘 적용될 수 있도록 main.dart 파일을 수정하겠습니다.
lib/main.dart
import 'package:app_my_calculator/widget/webview.dart';
import 'package:flutter/material.dart';
import 'package:flutter_dotenv/flutter_dotenv.dart';
import 'package:kakao_flutter_sdk_share/kakao_flutter_sdk_share.dart';
import 'package:flutter_native_splash/flutter_native_splash.dart';

Future<void> main() async {
  WidgetsBinding widgetsBinding = WidgetsFlutterBinding.ensureInitialized();
  FlutterNativeSplash.preserve(widgetsBinding: widgetsBinding);

  // 구성 파일 로드
  await dotenv.load(fileName: ".env");

  // 카카오 sdk 초기화
  KakaoSdk.init(nativeAppKey: '${dotenv.env['KAKAO_API_KEY']}');

  runApp(const MyApp());

  // 스플래쉬 화면 제거
  await Future.delayed(const Duration(milliseconds: 1));
  FlutterNativeSplash.remove();
}

class MyApp extends StatelessWidget {
  const MyApp({super.key});

  @override
  Widget build(BuildContext context) {
    return MaterialApp(
      title: 'Flutter Demo',
      home: MainWebView(),
    );
  }
}
추가로 스플래쉬 화면 -> 웹 뷰 로드가 완료되기 전까지 로딩 화면이 뜰 수 있도록 웹 뷰 위젯에 로딩도 추가해보겠습니다. 로딩 위젯으로 사용할 flutter_spinkit 패키지를 다운받아보겠습니다. 여기서 다양한 로딩 위젯을 선택할 수 있습니다.
flutter pub add flutter_spinkit
lib/widget/webview.dart
import 'dart:convert';

import 'package:flutter/material.dart';
import 'package:flutter_dotenv/flutter_dotenv.dart';
import 'package:flutter_spinkit/flutter_spinkit.dart';
import 'package:fluttertoast/fluttertoast.dart';
import 'package:kakao_flutter_sdk_share/kakao_flutter_sdk_share.dart';
import 'package:webview_flutter/webview_flutter.dart';

class MainWebView extends StatefulWidget {
  const MainWebView({
    Key? key,
  }) : super(key: key);

  @override
  State<MainWebView> createState() => _MainWebViewState();
}

class _MainWebViewState extends State<MainWebView> {
  late WebViewController _controller = WebViewController();
  late FToast fToast;
  bool _isLoading = true;

  void _openToast(
    String message,
    ToastGravity gravity,
  ) {
    Widget toast = Container(
      padding: const EdgeInsets.symmetric(horizontal: 24.0, vertical: 12.0),
      decoration: BoxDecoration(
        borderRadius: BorderRadius.circular(25.0),
        color: const Color(0XFF0479f6),
      ),
      child: Row(
        mainAxisSize: MainAxisSize.min,
        children: [
          const Icon(Icons.notifications_active, color: Colors.white),
          const SizedBox(width: 12.0),
          Text(
            message,
            style: const TextStyle(color: Colors.white),
          ),
        ],
      ),
    );

    fToast.showToast(
      child: toast,
      gravity: gravity,
      toastDuration: const Duration(seconds: 2),
    );
  }

  @override
  void initState() {
    fToast = FToast();
    fToast.init(context);

    _controller = WebViewController()
      ..setJavaScriptMode(JavaScriptMode.unrestricted)
      ..addJavaScriptChannel('shareChannel',
          onMessageReceived: (JavaScriptMessage javaScriptMessage) async {
        var data = jsonDecode(javaScriptMessage.message);
        String paymentMethod = data['paymentMethod'];
        String amount = data['amount'];
        String period = data['period'];
        String interest = data['interest'];
        String redirectUrl =
            '${dotenv.env['BASE_URL']}/share?paymentMethod=$paymentMethod&amount=$amount&period=$period&interest=$interest';

        try {
          bool isKakaoTalkSharingAvailable =
              await ShareClient.instance.isKakaoTalkSharingAvailable();
          if (isKakaoTalkSharingAvailable) {
            FeedTemplate defaultFeed = FeedTemplate(
              content: Content(
                title: "my-calculator",
                description: "계산 결과를 확인해 보세요!",
                imageUrl: Uri.parse('${dotenv.env['BASE_URL']}/favicon.png'),
                link: Link(
                    webUrl: Uri.parse(redirectUrl),
                    mobileWebUrl: Uri.parse(redirectUrl)),
              ),
              buttons: [
                Button(
                  title: '계산 결과 확인하기',
                  link: Link(
                    webUrl: Uri.parse(redirectUrl),
                    mobileWebUrl: Uri.parse(redirectUrl),
                  ),
                ),
              ],
            );

            Uri uri =
                await ShareClient.instance.shareDefault(template: defaultFeed);
            await ShareClient.instance.launchKakaoTalk(uri);
          } else {
            _openToast("카카오톡을 설치해 주세요.", ToastGravity.BOTTOM);
          }
        } catch (error) {
          _openToast("공유하기에 실패했습니다.", ToastGravity.TOP);
        }
      })
      ..addJavaScriptChannel('alertChannel',
          onMessageReceived: (JavaScriptMessage javaScriptMessage) {
        var data = jsonDecode(javaScriptMessage.message);

        _openToast(data["message"], ToastGravity.TOP);
      })
      ..setNavigationDelegate(
        NavigationDelegate(
          onProgress: (int progress) {},
          onPageStarted: (String url) {},
          onPageFinished: (String url) async {
            setState(() {
              _isLoading = false;
            });
          },
          onWebResourceError: (WebResourceError error) {},
          onNavigationRequest: (NavigationRequest request) {
            return NavigationDecision.navigate;
          },
        ),
      )
      ..loadRequest(Uri.parse('${dotenv.env['BASE_URL']}'));

    super.initState();
  }

  @override
  Widget build(BuildContext context) {
    return Scaffold(
      backgroundColor: Colors.white,
      body: Stack(
        children: [
          WebViewWidget(controller: _controller),
          Visibility(
            visible: _isLoading,
            child: const Positioned.fill(
              child: SpinKitRing(color: Colors.blue),
            ),
          ),
        ],
      ),
    );
  }
}
onPageFinshed 함수는 웹 뷰가 모두 로드되었을 때 실행됩니다. 이 함수를 통해 setState로 Visible을 관리합니다.
이제 앱을 실행해보겠습니다.


앱 아이콘 변경

현재 앱을 실행하게 되면 아래와 같이 Flutter 기본 이미지가 아이콘으로 설정되어있습니다. 이 아이콘을 바꿔보겠습니다.(바꾸고 싶은 이미지를 준비해 주세요) 저는 블로그 아이콘을 사용해보겠습니다.

Android
안드로이드 스튜디오를 실행하고 app - New - Image Asset을 클릭합니다.

이미지가 있는 경로를 찾아 이미지를 추가합니다.
Resize를 통해 우측의 레이어 영역에 맞춰 이미지가 들어갈 수 있게 합니다. 영역을 맞춘후 다음으로 넘어갑니다.

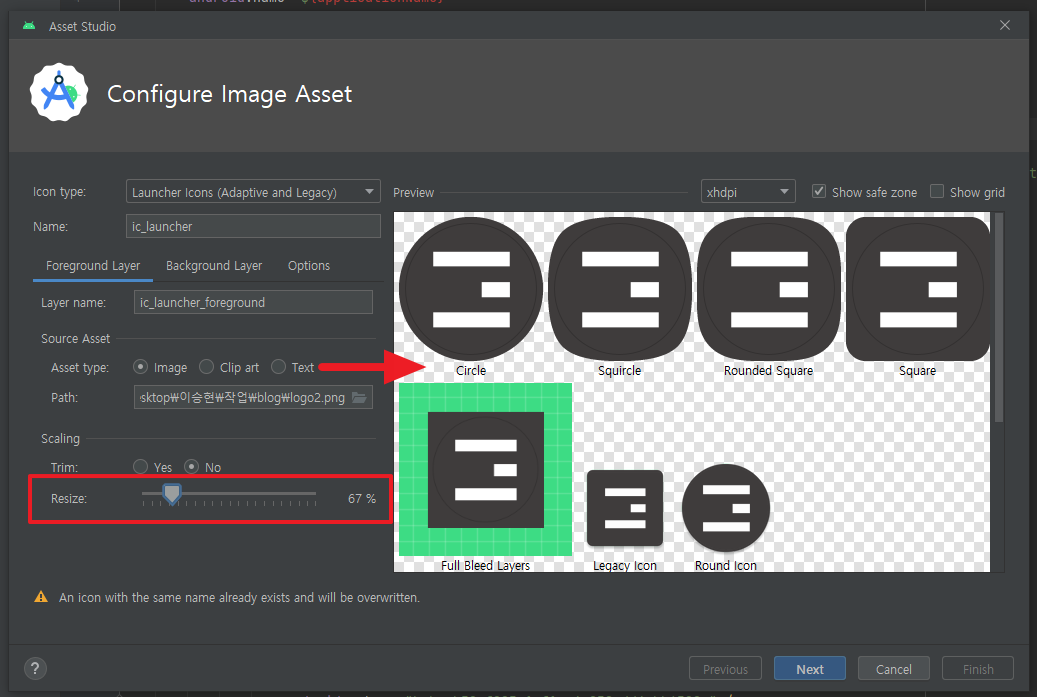
아이콘 확인 후 Finish를 클릭합니다.
res - mipmap - ic_launcher에 앱 아이콘이 추가되며 AndroidManifest.xml에서 변경된 아이콘을 확인할 수 있습니다.


iOS
여기에 접속해 iOS에 수정할 앱 아이콘을 생성합니다.

Generate 후 다운받은 파일의 압축을 풀게되면 아래와 같은 디렉토리가 조회됩니다.

이제 아이콘을 수정하기 위해 Xcode를 실행합니다.
Runner - Assets의 AppIcon을 클릭합니다. 우측에 화살표 표시를 클릭하면 해당 파일이 존재하는 디렉토리가 파인더로 열립니다.

다운받은 파일의 Assets.xcassets를 클릭하면 AppIcon.appiconset 디렉토리가 존재합니다. 드래그앤드롭으로 기존 파일을 대치합니다.

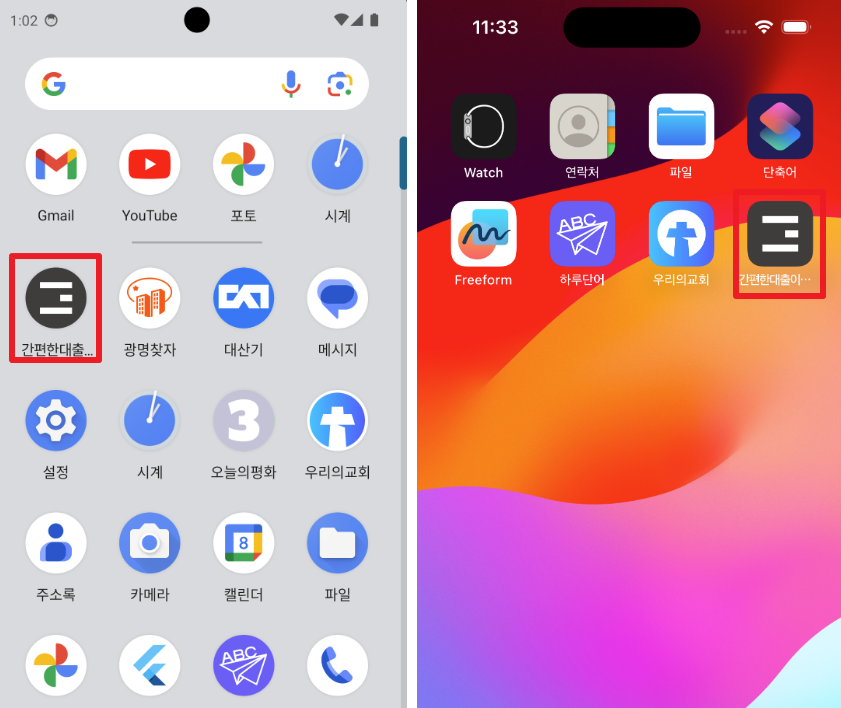
앱 아이콘이 수정되었습니다.

Android/iOS 모두 앱 아이콘이 변경된 것을 확인할 수 있습니다.
5-2. 앱 빌드하기
앱을 출시하기 위해서 빌드 파일이 필요합니다. 빌드 -> 배포 과정은 플랫폼별로 조금씩 다르게 진행됩니다.
Android : 안드로이드 스튜디오를 통해 빌드된 파일(.adb)을 플레이 콘솔에 직접 업로드, 심사 제출
iOS : TestFlight를 통해 빌드/업로드 진행, 앱 스토어 커넥트에서 새로운 버전 출시를 통해 심사 제출
하나씩 빌드해보겠습니다.
Android
안드로이드 스튜디오를 실행하고 앱 버전을 지정합니다.
Gradle Scripts - build.gradle(Module:app) 파일을 열어 defaultConfig에 versionCode를 1로 지정하고 versionName을 "1.0.0"으로 지정합니다.
이후 새로운 버전 빌드시에는 versionCode를 1씩 증가시키고 versionName은 원하는 버전명으로 수정합니다
ex) versionCode : 2 / versionName : "1.0.2"

빌드를 위해 상단에 Build - Generate Signed Bundle / APK... 를 클릭합니다.

Android App Bundle 클릭

빌드를 위한 키스토어를 생성합니다. Create New 클릭


- Key store path : 키스토어 경로를 지정 후 파일 이름에 프로젝트명을 입력합니다. → /Users/eeesnghyun/androidKeyStore/daesanki
- Password/Confirm : 키스토어 패스워드를 설정합니다.
- Key
- Alias : 키 별칭을 입력합니다.
- Password/Confirm : 키 패스워드를 설정합니다.
- Validity(years) : 유효기간은 기본값을 사용합니다.(더 길게 설정해도 무방합니다)
- Certificate : 인증서에 등록될 정보를 입력합니다.
- First and Last Name : 이름
- Organizational Unit : 조직 - 팀
- Organization : 조직
- City or Locality : 지역(시)
- State or Province : 지역(구)
- Country Code (XX) : 나라코드
생성 후에는 매번 빌드시 패스워드를 입력하지 않아도 되도록 Remember passwords를 선택합니다.

빌드 유형으로 release를 선택합니다.

빌드가 성공되었습니다.

빌드 완료 후에는 바탕화면에 생성된 pepk키를 확인할 수 있고, 프로젝트 - android - app - release 경로에 aab 파일이 생성된 것을 확인할 수 있습니다.
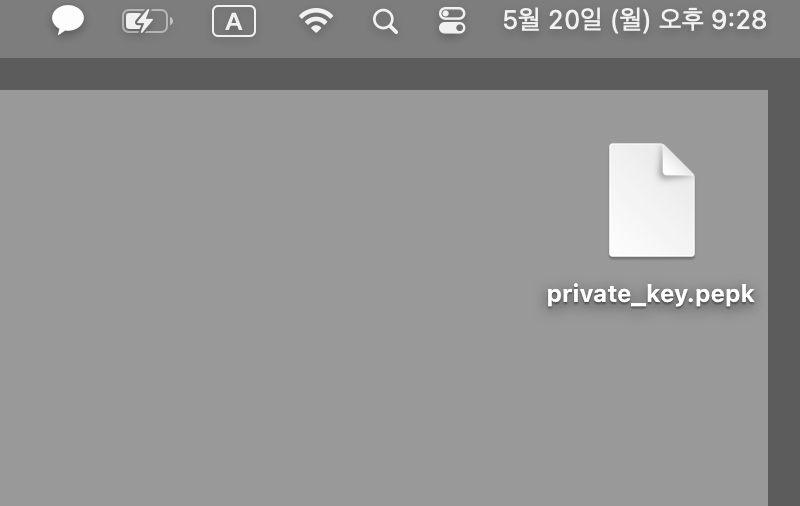
aab 파일은 다음 글에서 플레이스토어에 등록하게 됩니다.


iOS
이 글을 통해 TestFilght가 설정되어 있다면 빌드 과정은 간단합니다.
Xcode 실행 후 Archive를 클릭합니다.

새로운 버전 빌드시에는 Runner(TARGETS) - Build Settings에서 flutter 검색 후 FLUTTER_BUILD_NAME을 변경합니다. FLUTTER_BUILD_NAME이 앱 스토어에 표시되는 앱 버전이 됩니다.
FLUTTER_BUILD_NUMBER는 빌드시에 자동으로 증가합니다. ☞ 1.0.3(1) -> 아카이브 -> 1.0.3(2)

빌드가 성공되면 Distribute App을 클릭합니다.

TestFlight & App Store를 선택하고 Distribute를 실행합니다.

업로드가 성공되면 앱스토어 커넥트 TestFlight에서 확인할 수 있습니다.


5-3. 스토어 이미지 준비하기
앱 출시를 위해서는 Android / iOS 각각 앱 스크린샷이 필요합니다.

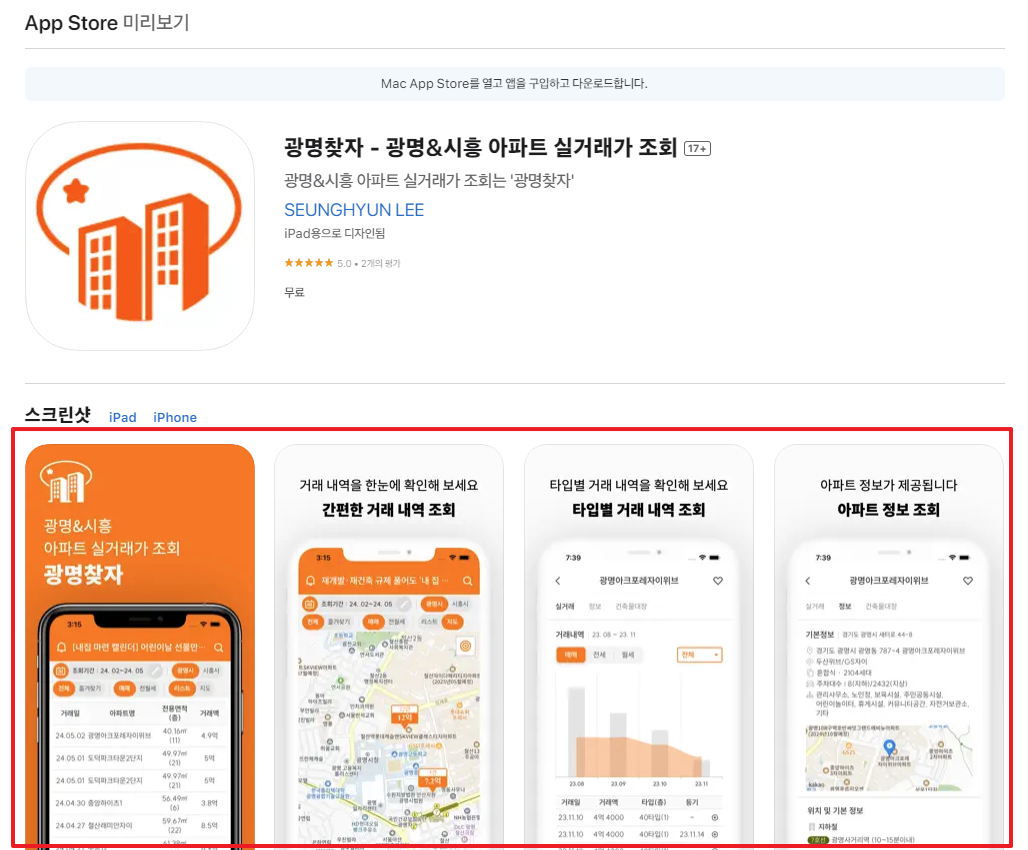
필수로 등록해야하는 스크린샷은 다음과 같습니다.
- Android : (최소 2장의 이미지) 휴대전화 스크린샷, 7인치 태블릿 스크린샷, 10인치 태블릿 스크린샷, 그래픽 이미지(1024 * 500) 1장
- iOS : (최소 3장의 이미지) 6.5 디스플레이 스크린샷, 5.5 디스플레이 스크린샷, 12.9 디스플레이 스크린샷, 12.9(iPad Pro) 디스플레이 스크린샷
스크린샷에 필요한 디바이스를 정리하면 Android는 Pixel 4 XL(Pixel 4도 가능), 10.1 WXGA(Nexus 9) 이며 iOS는 iPhone 8 Plus, iPhone 11 Pro Max, iPad Pro 12.9 Inch 입니다.
애뮬레이터/시뮬레이터를 이용해 앱 스크린샷을 준비해놓으면 이를 이용해 스토어에 등록할 스크린샷을 쉽게 만들 수 있습니다.
스크린샷을 준비해볼까요?
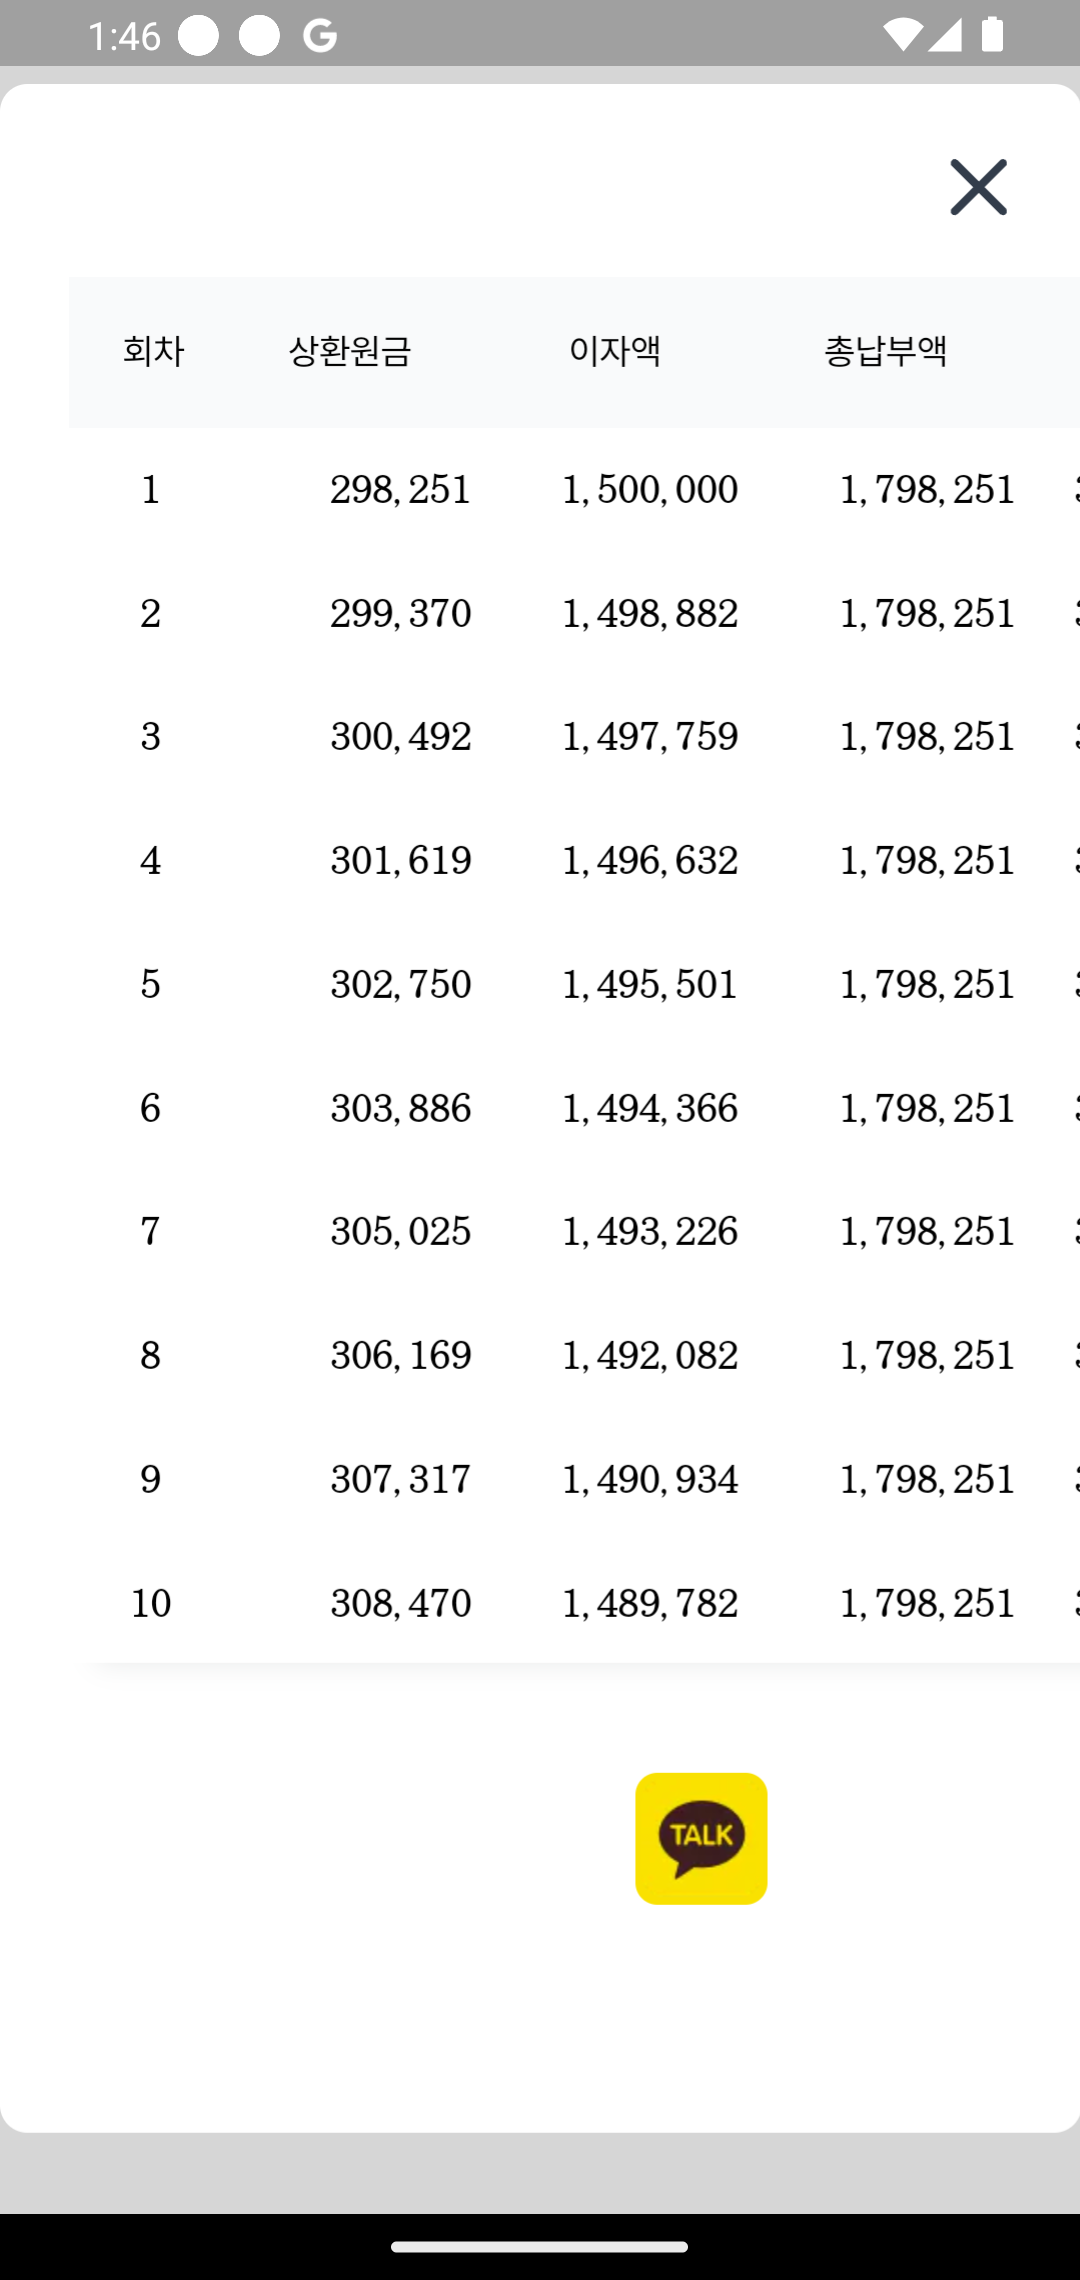
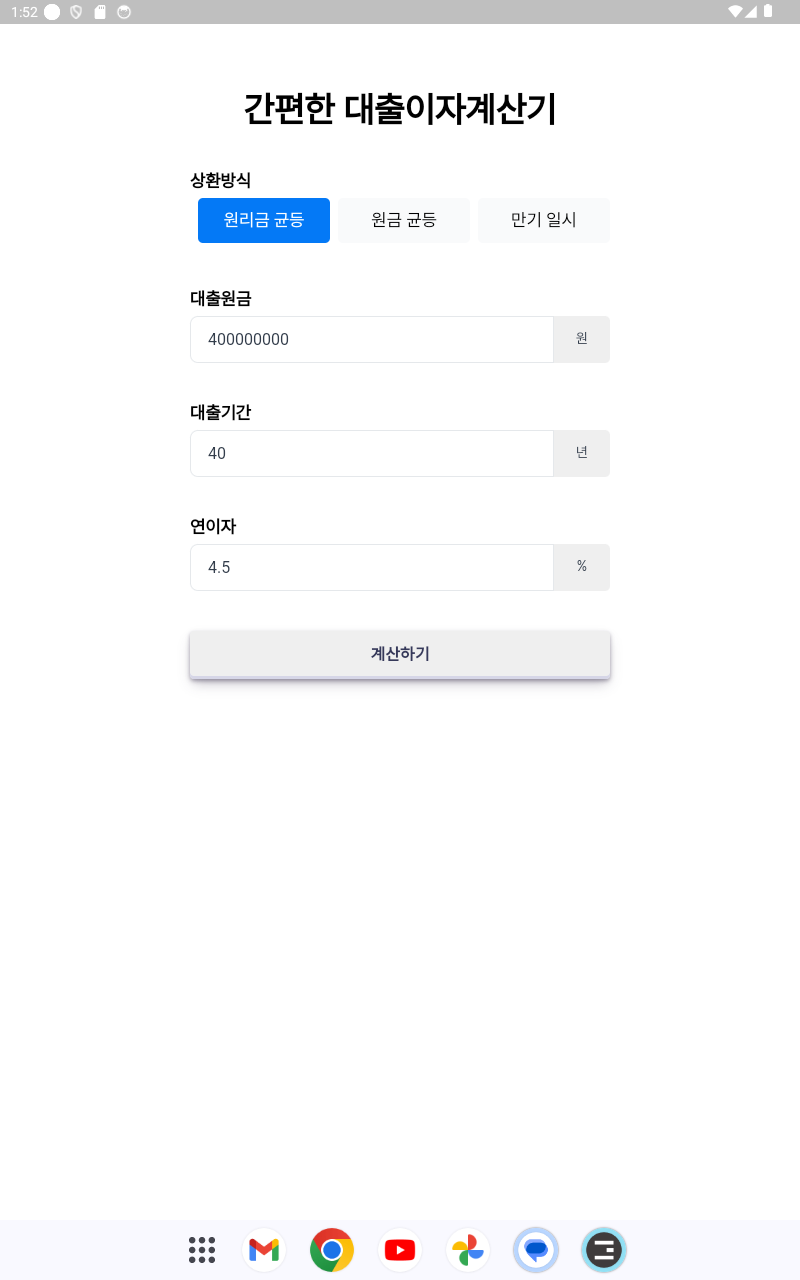
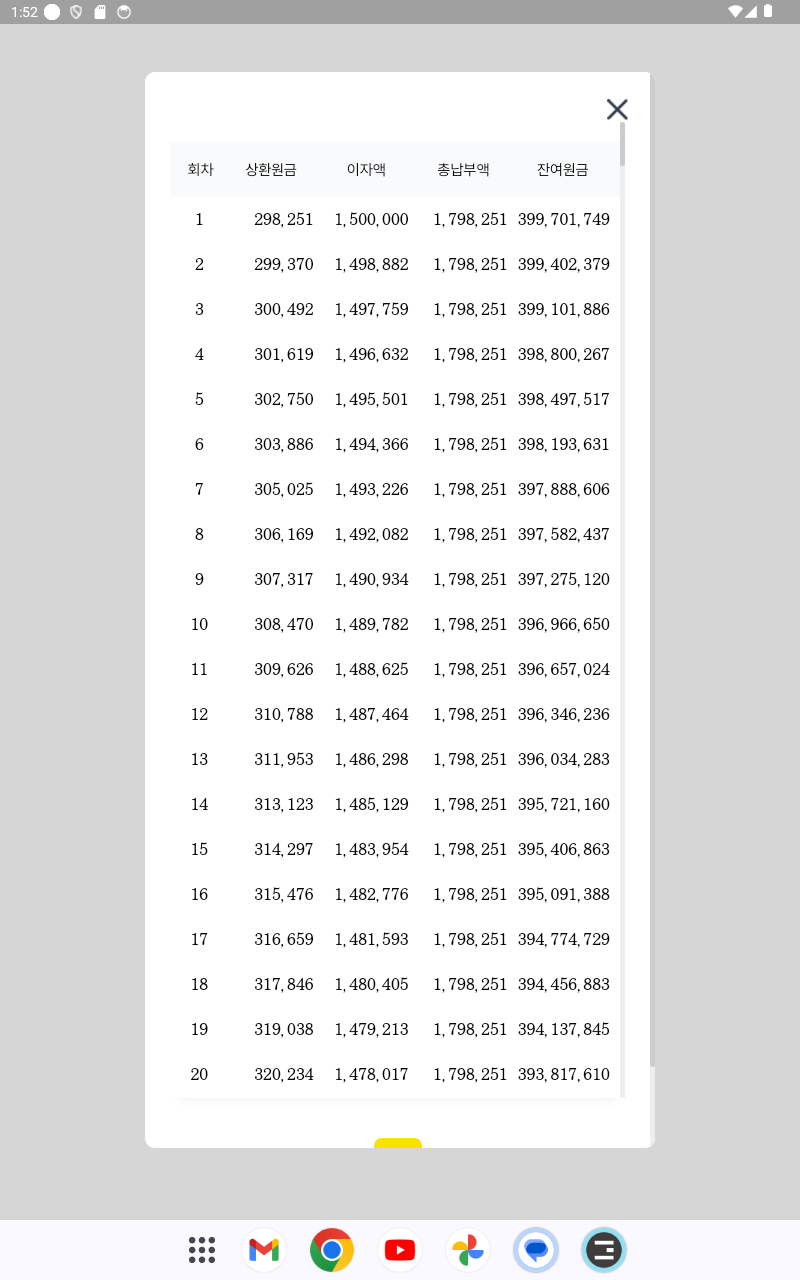
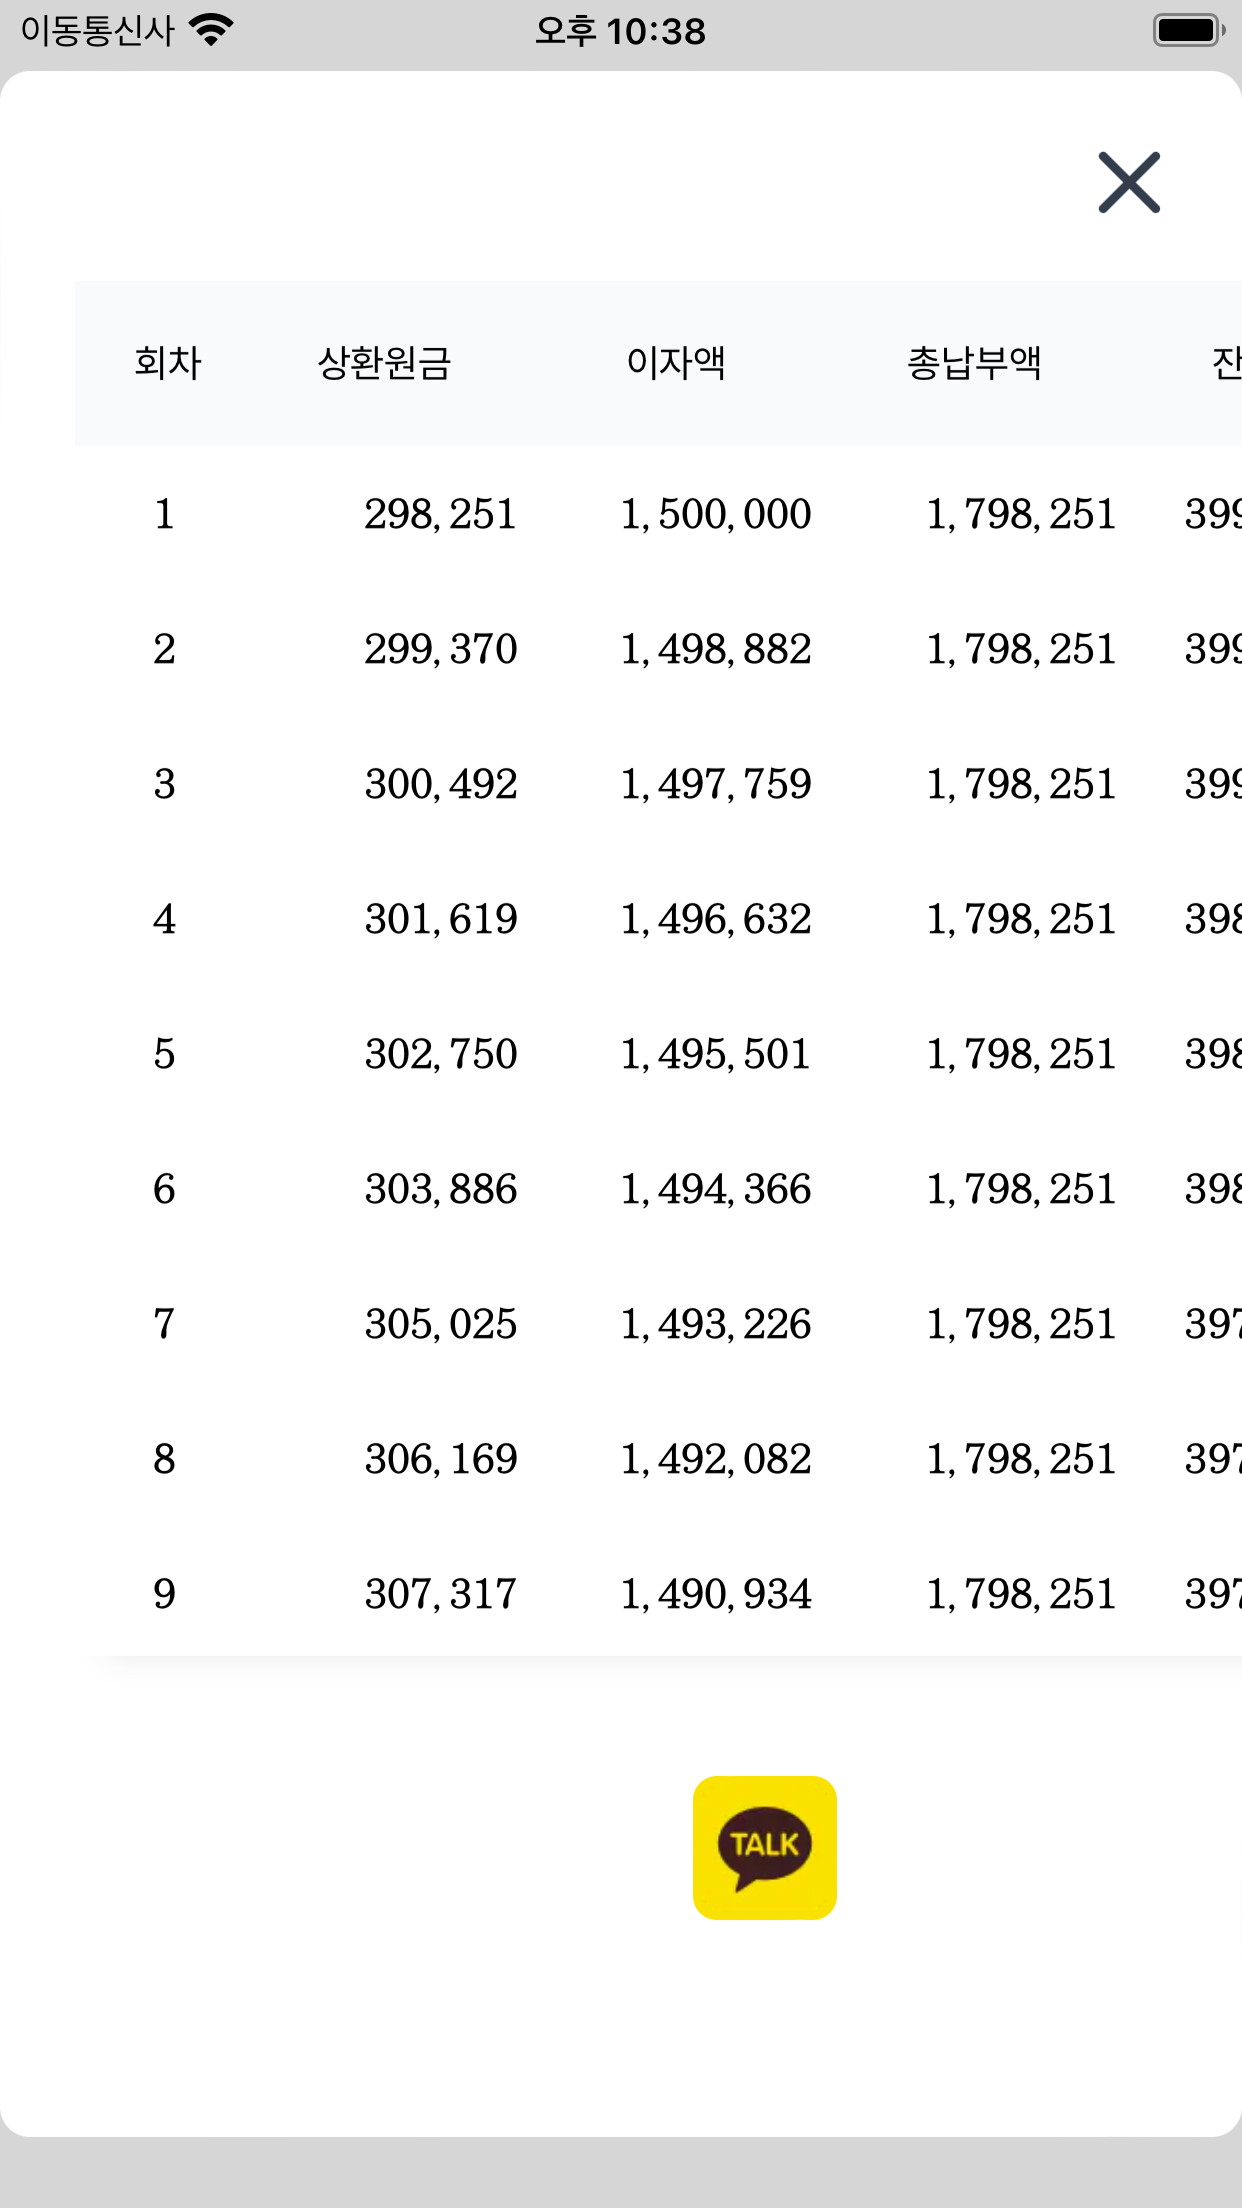
각 디바이스의 카메라 버튼을 클릭하면 배경화면에 앱 스크린샷이 저장됩니다.

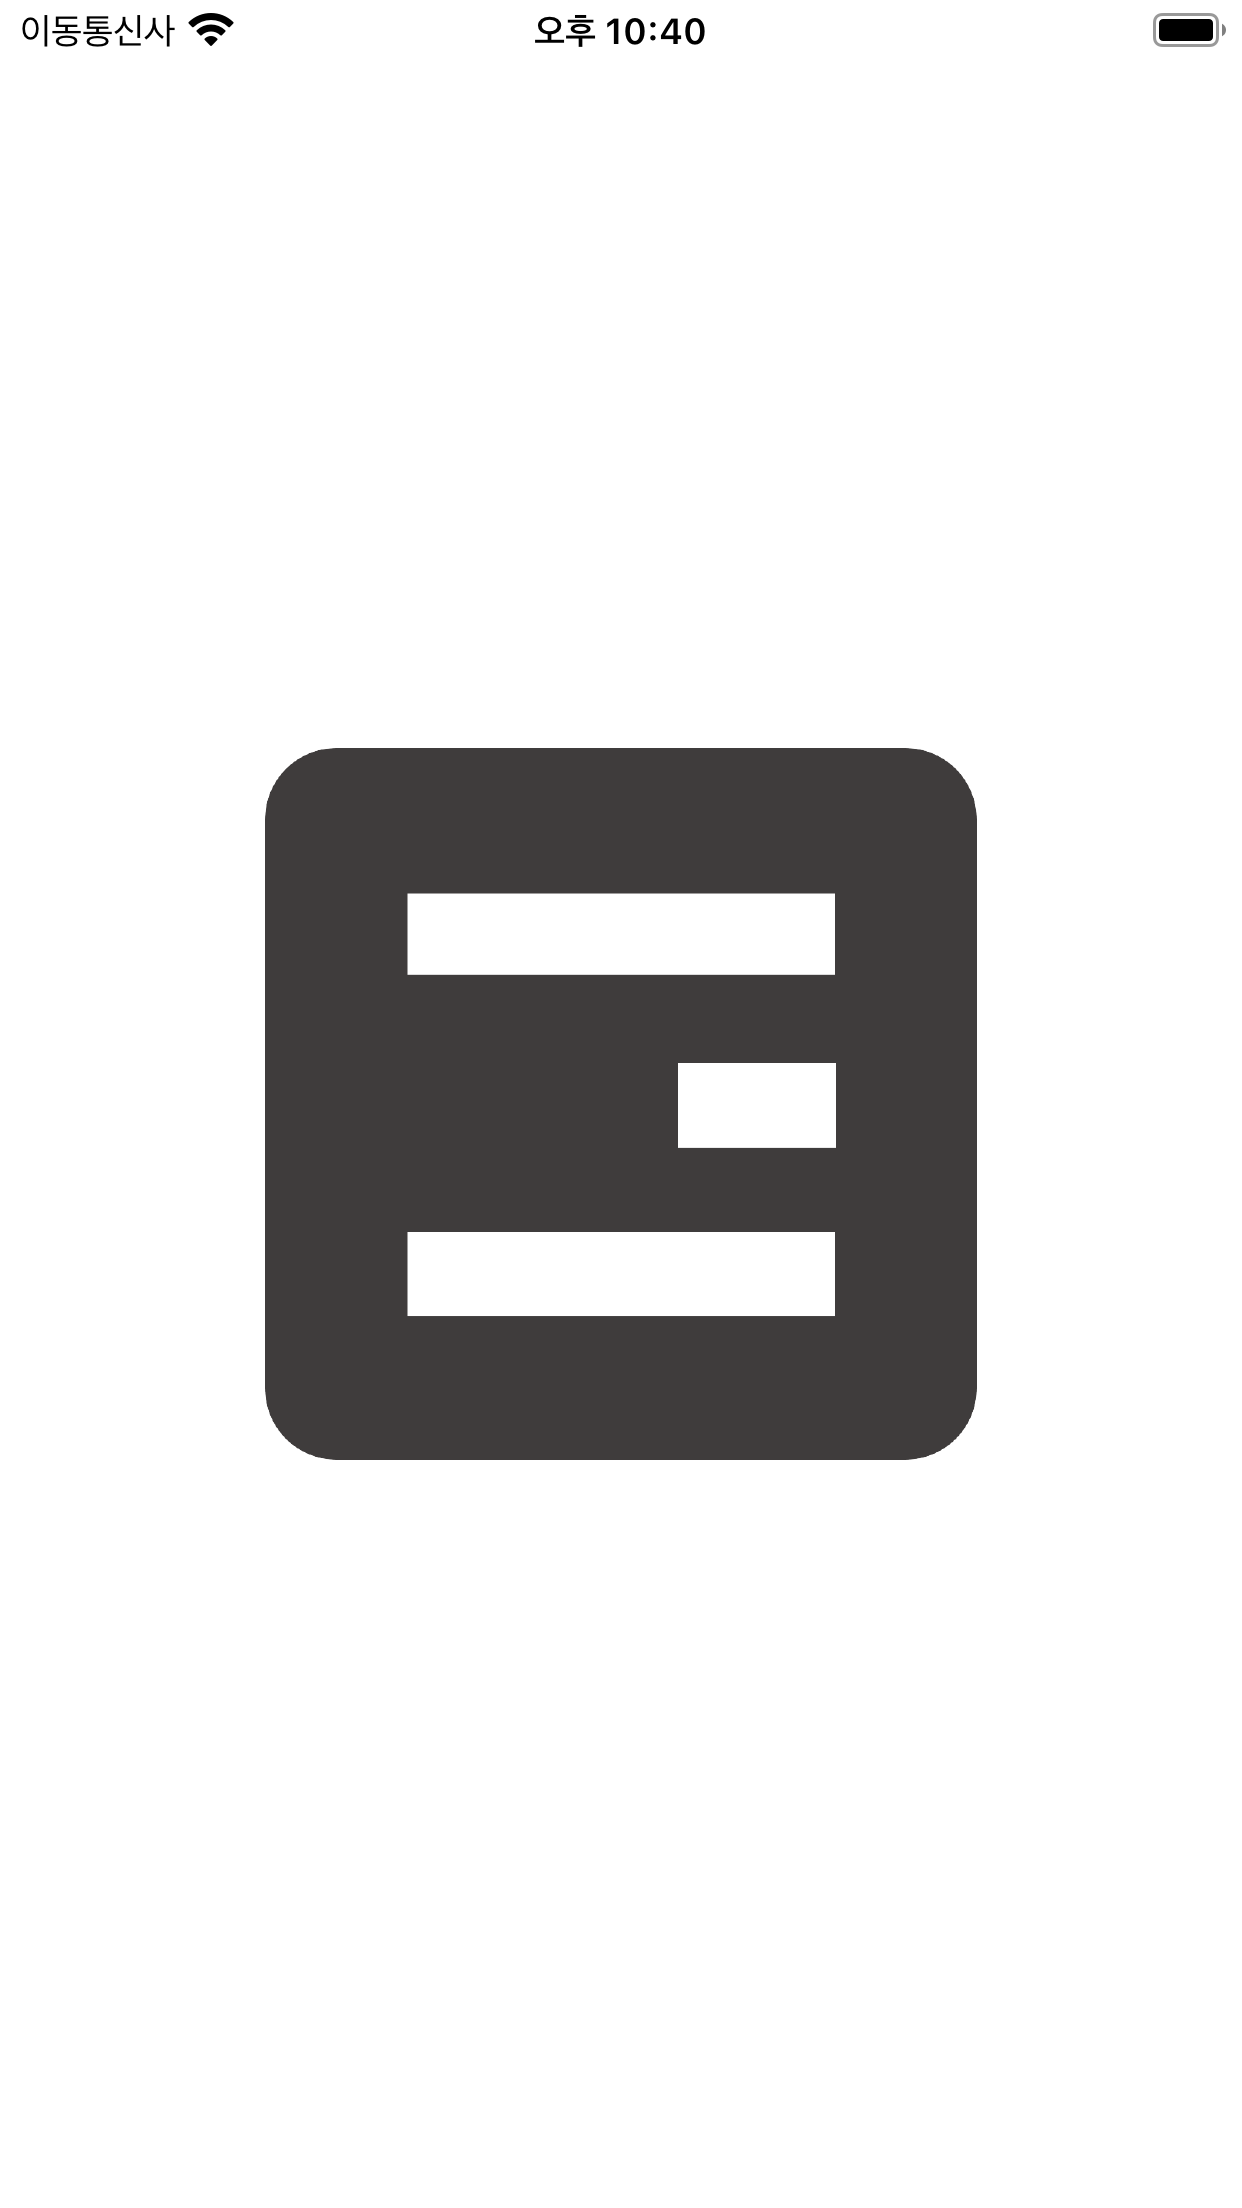
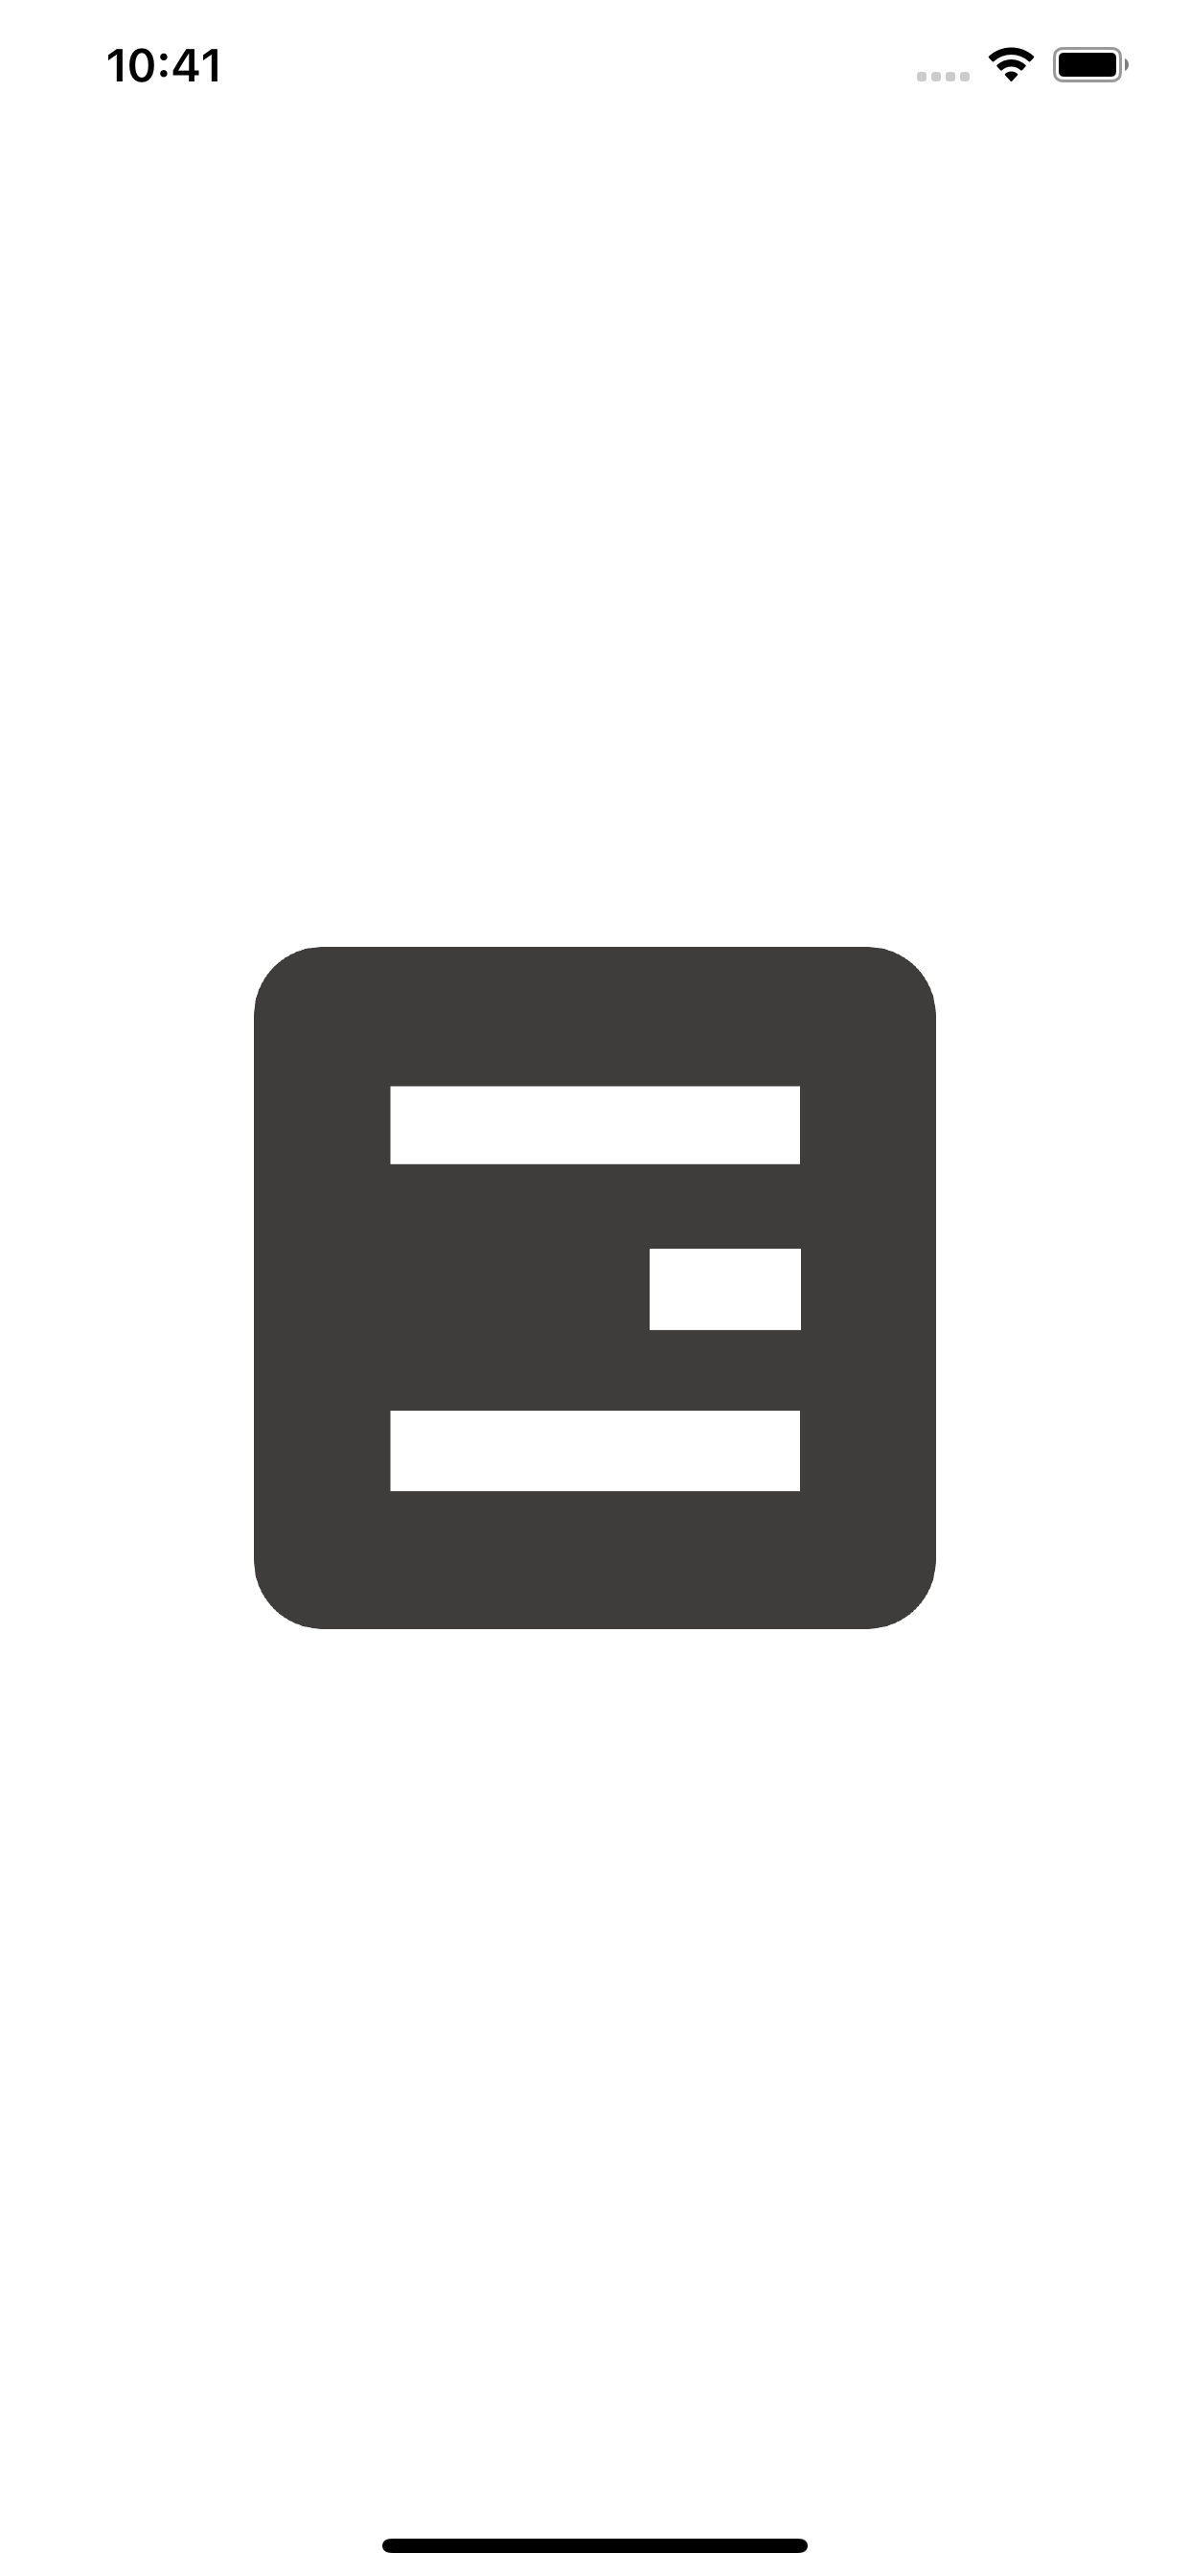
스플래쉬 화면, 메인 화면, 계산 결과 화면 총 3장의 이미지를 준비해보겠습니다. main.dart에 아래 코드(debugShowCheckedModeBanner : false)를 추가하면 DEBUG 뱃지를 삭제할 수 있습니다.
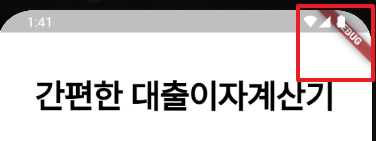
main.dart
class MyApp extends StatelessWidget {
  const MyApp({super.key});

  @override
  Widget build(BuildContext context) {
    return MaterialApp(
      debugShowCheckedModeBanner: false,
      title: 'Flutter Demo',
      home: MainWebView(),
    );
  }
}
Android
*애뮬레이터를 추가하는 방법은 더보기를 참고해 주세요
1. Device Manager 클릭

2. Create device 클릭

3. Phone - Pixel 4 XL, Tablet - 10.1 WXGA 디바이스 선택 후 설치
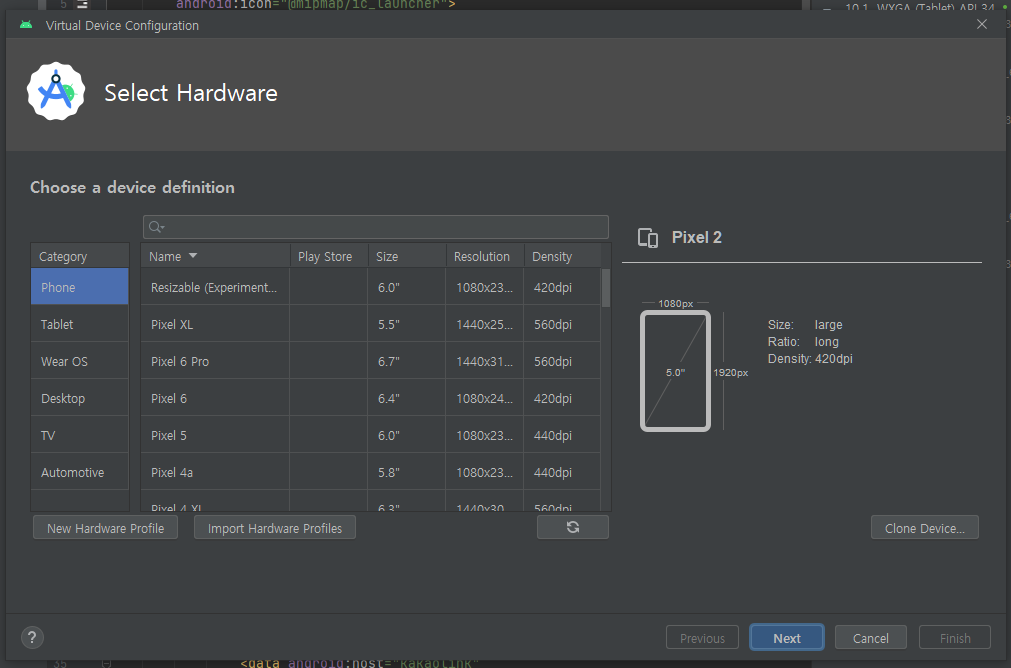
Pixel 4 XL
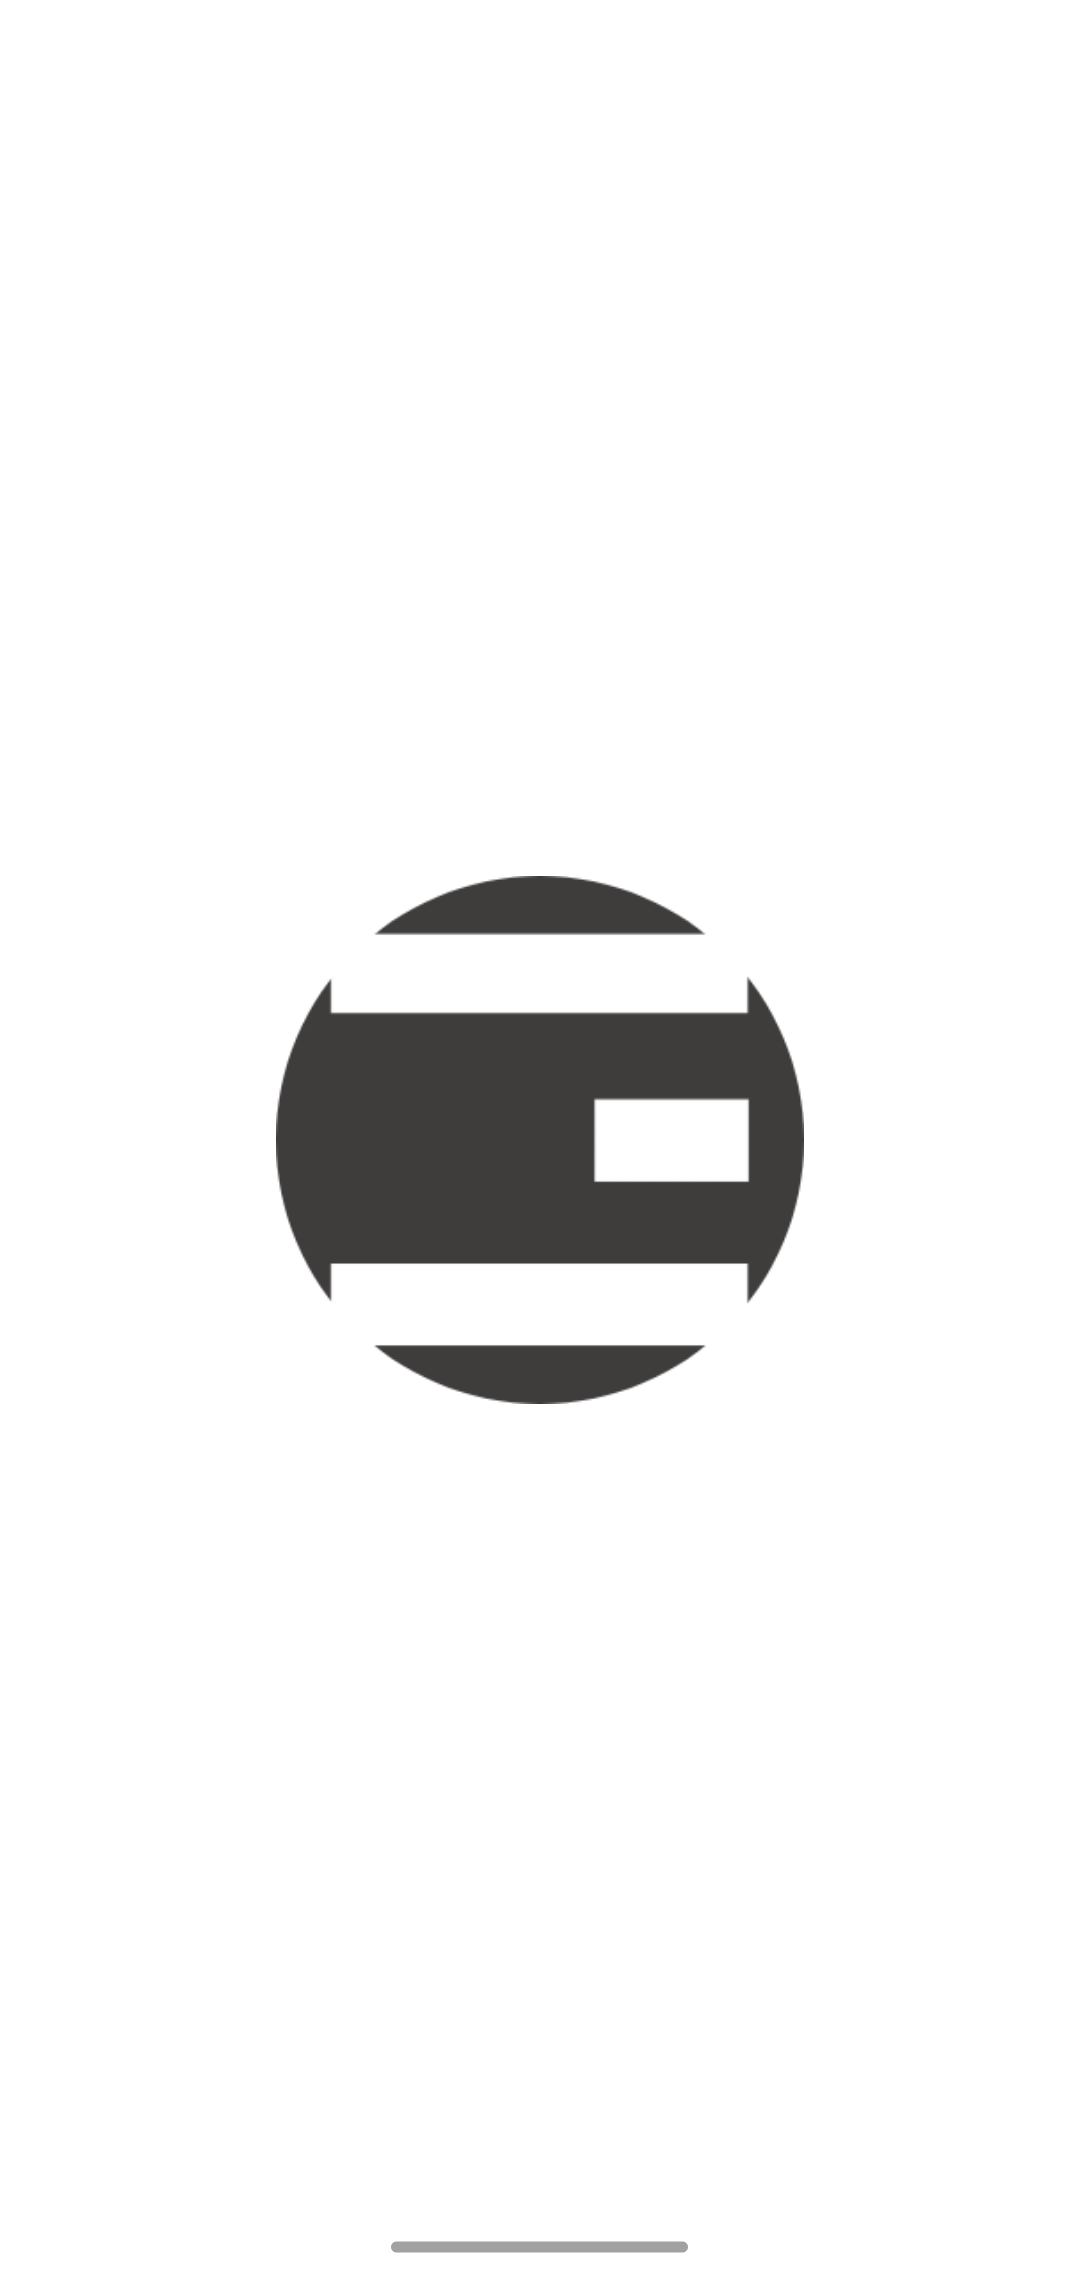
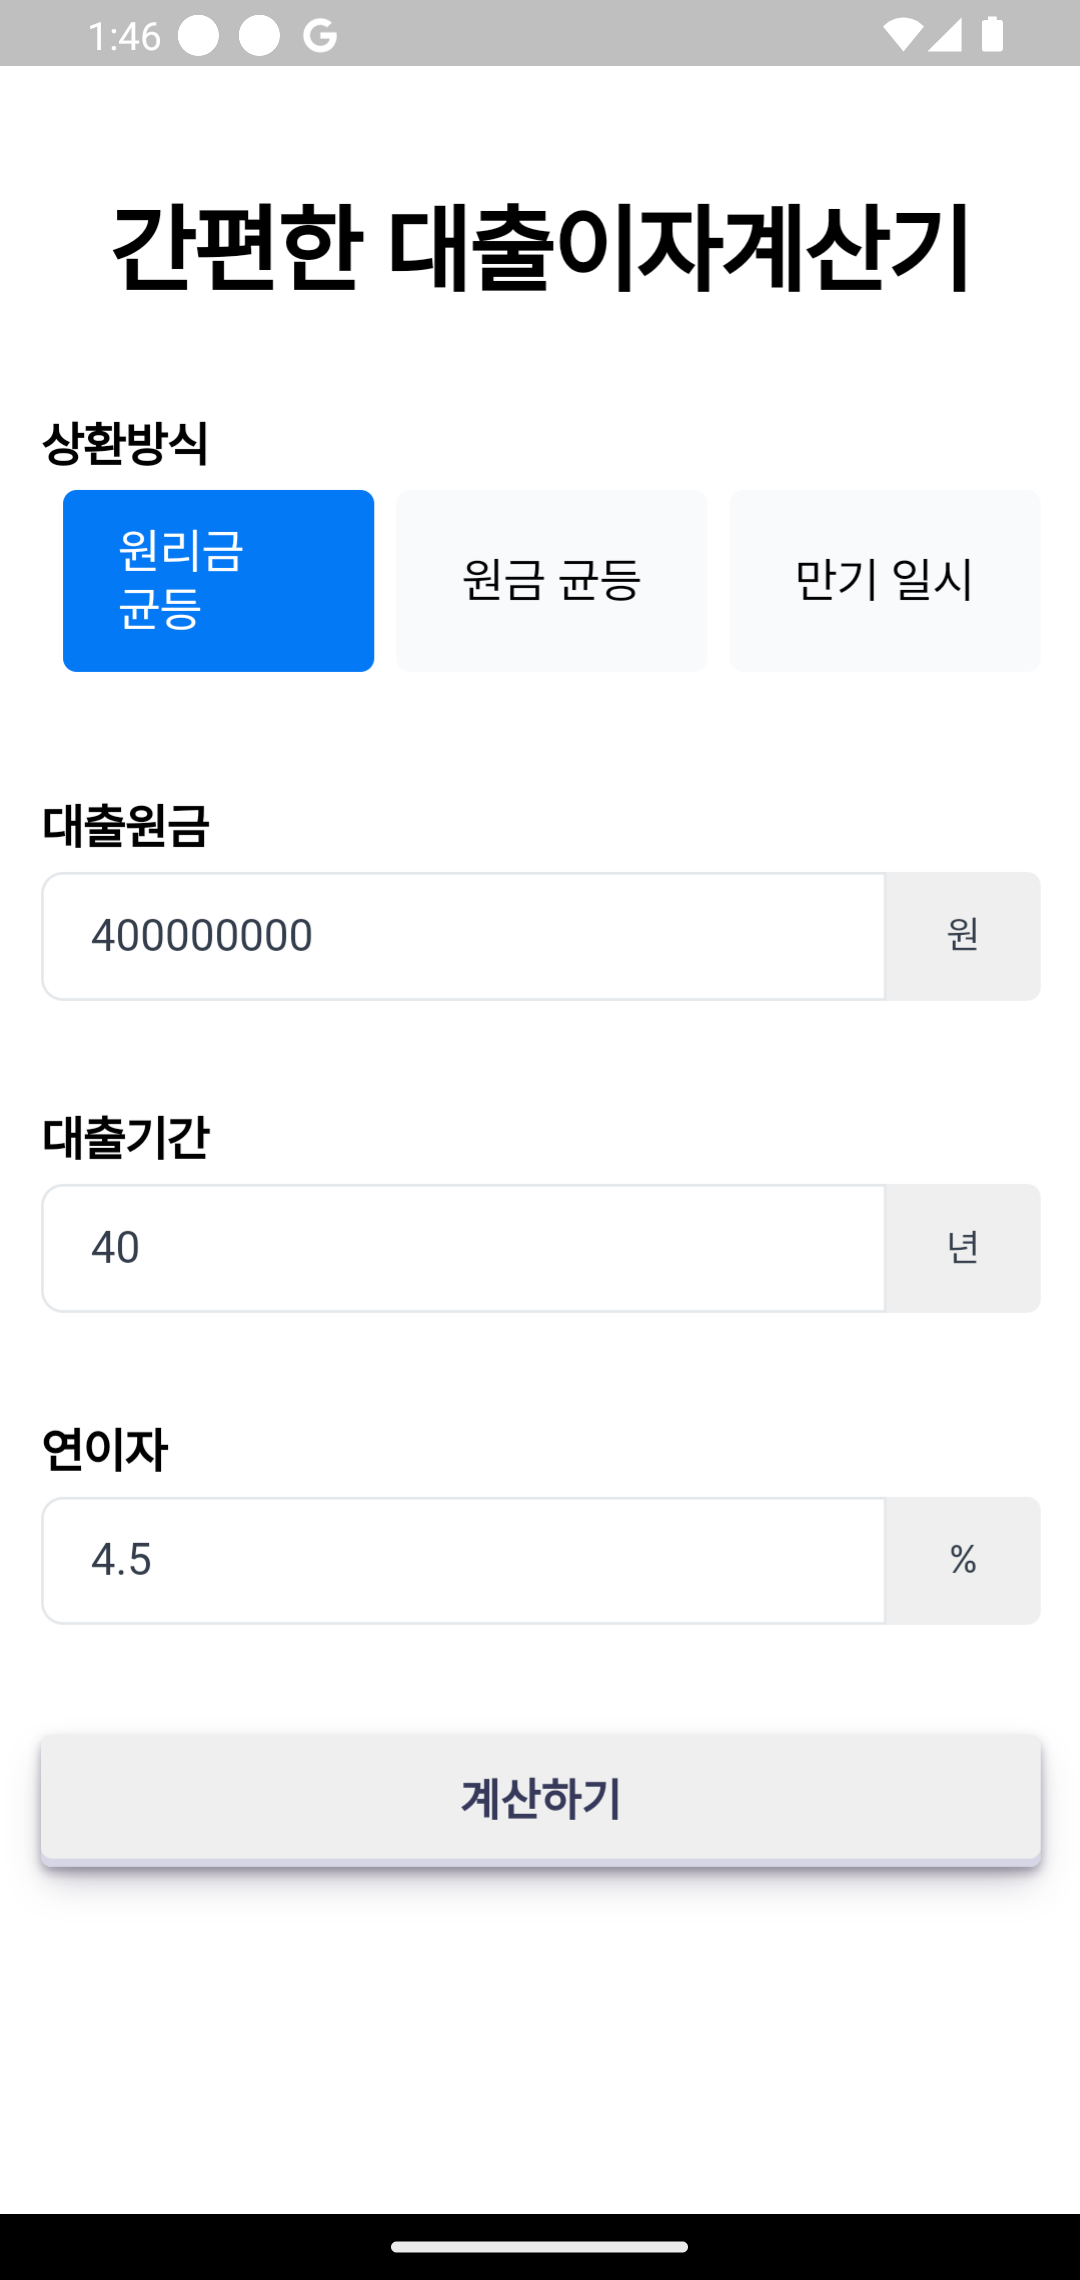
10.1 WXGA

iOS
* 시뮬레이터를 추가하는 방법은 더보기를 참고해 주세요(iPhone 8 Plus는 최근 ios 버전 지원이 안되기 때문에 16버전을 추가 설치해줘야 합니다)
1. Window - Devices and Simulators 클릭 후 하단 + 버튼을 클릭합니다.
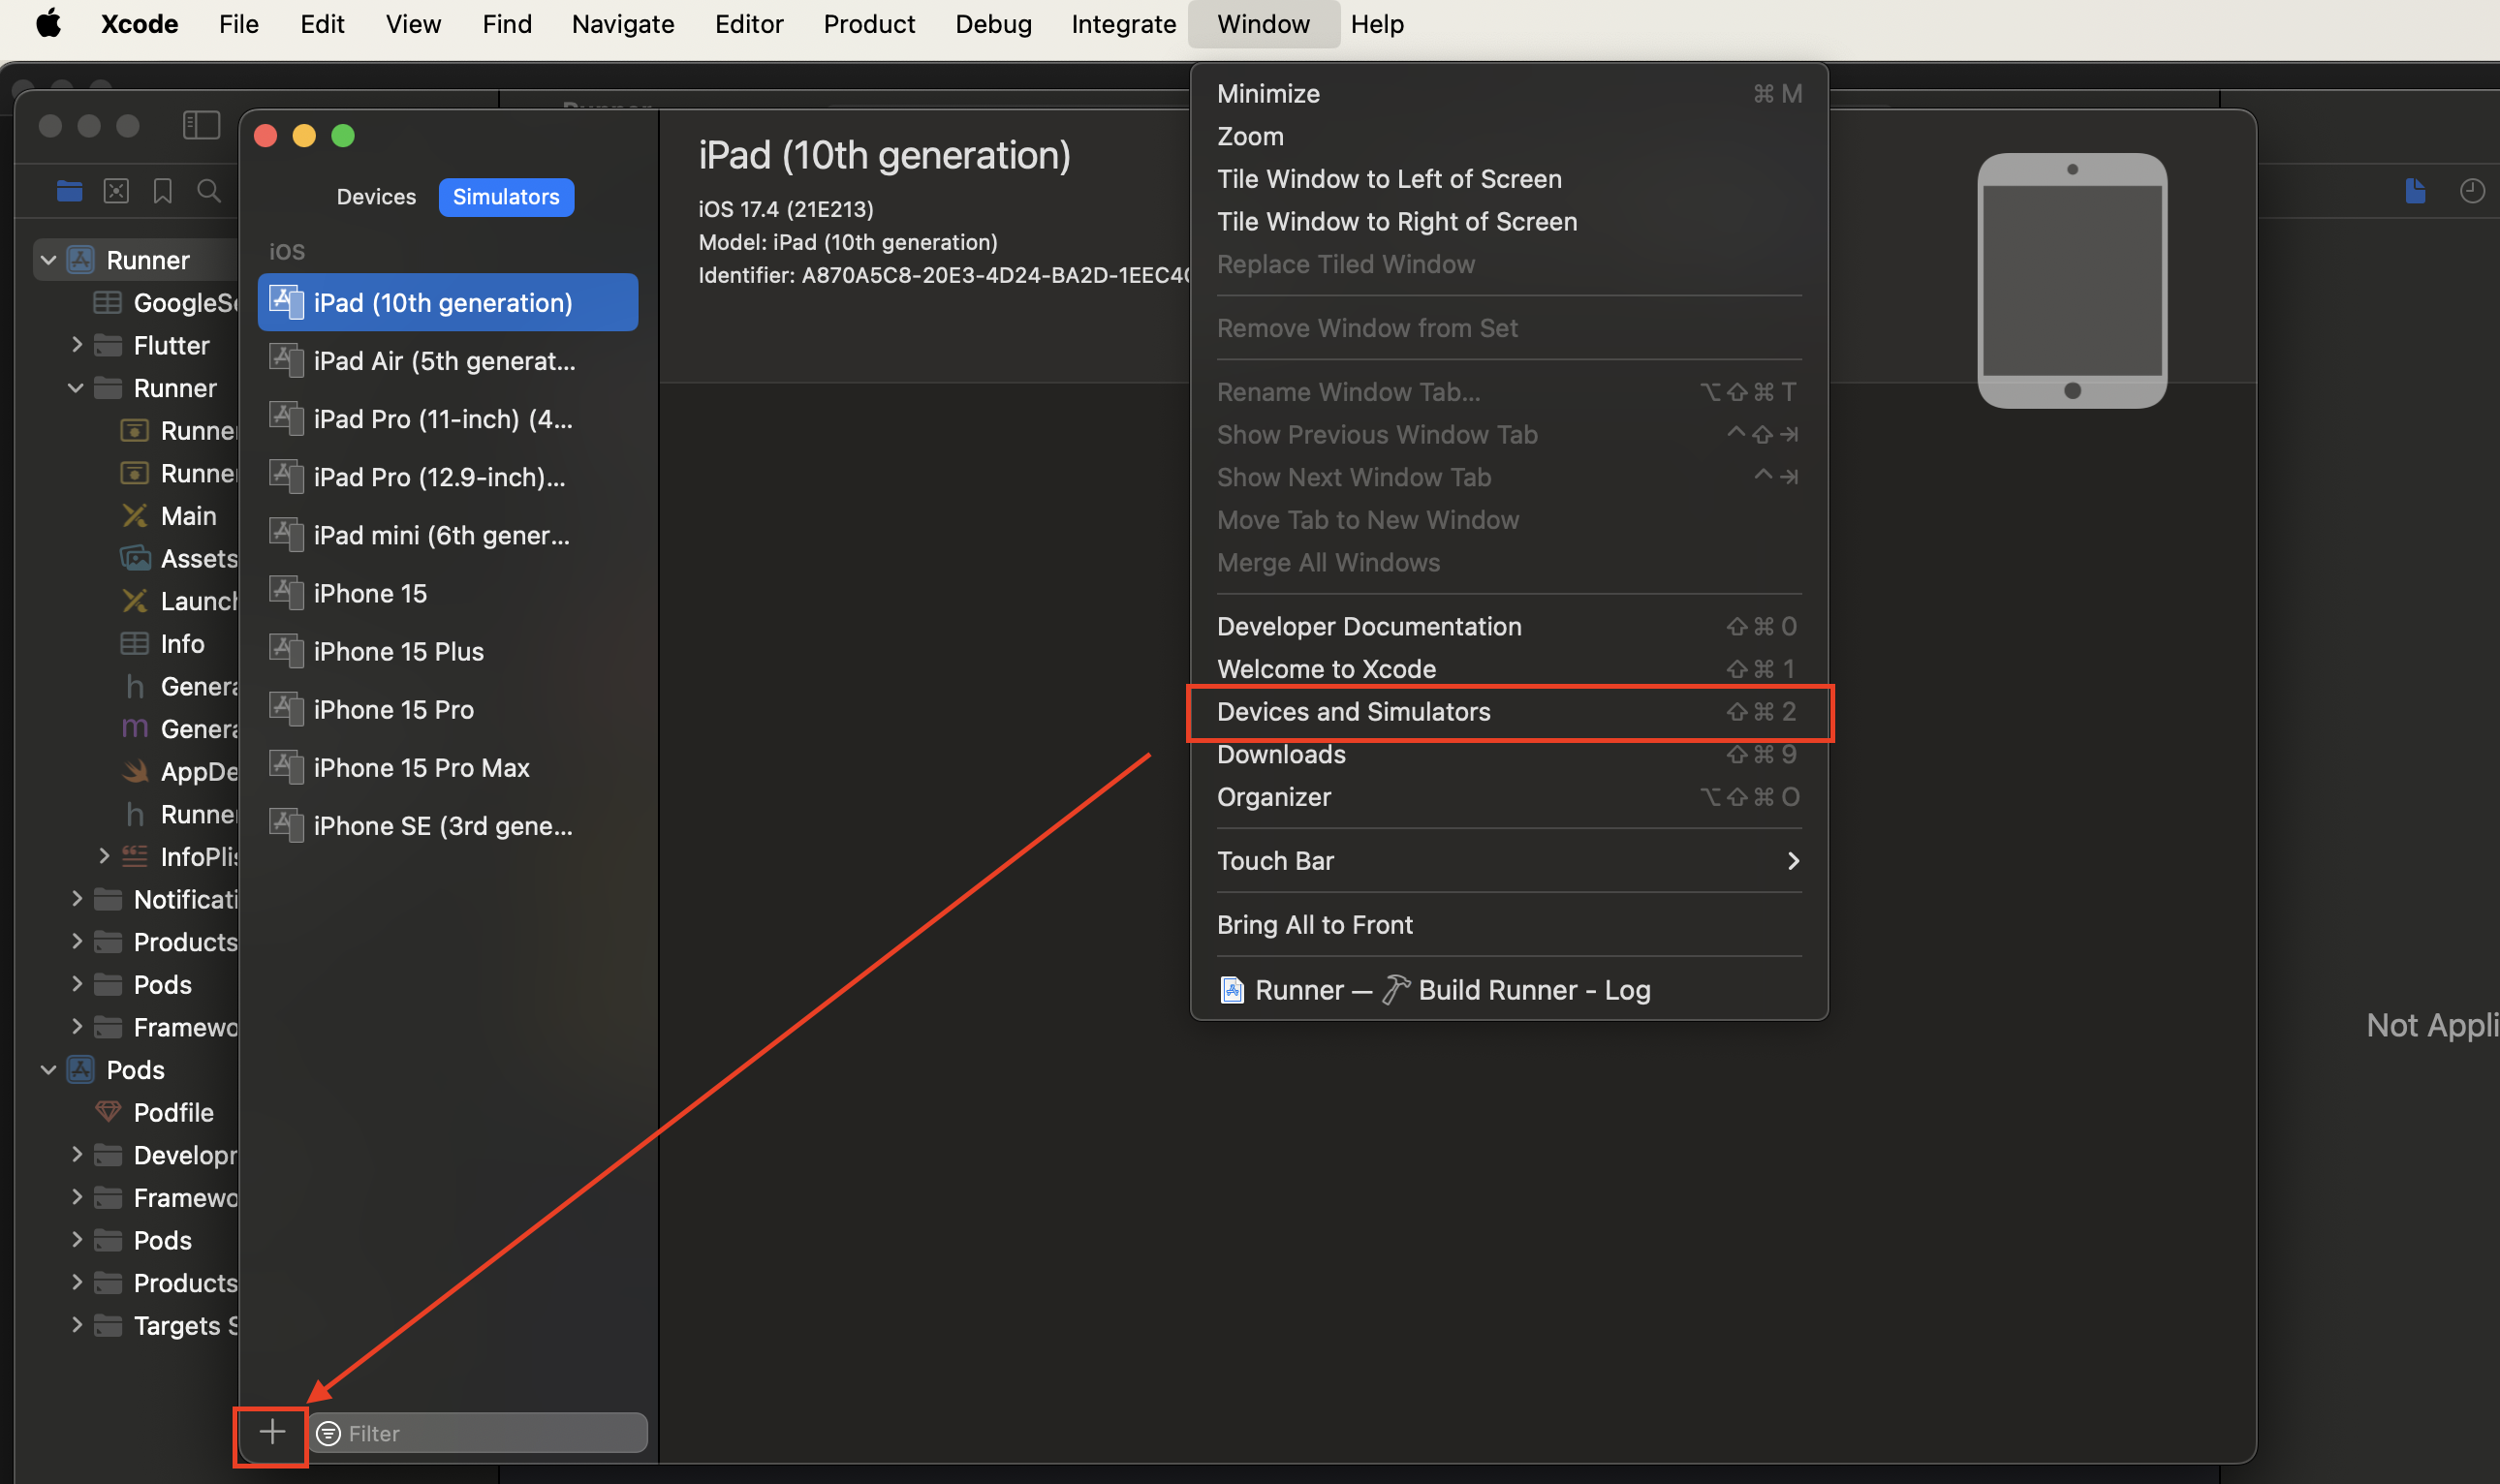
2. 시뮬레이터를 추가합니다.
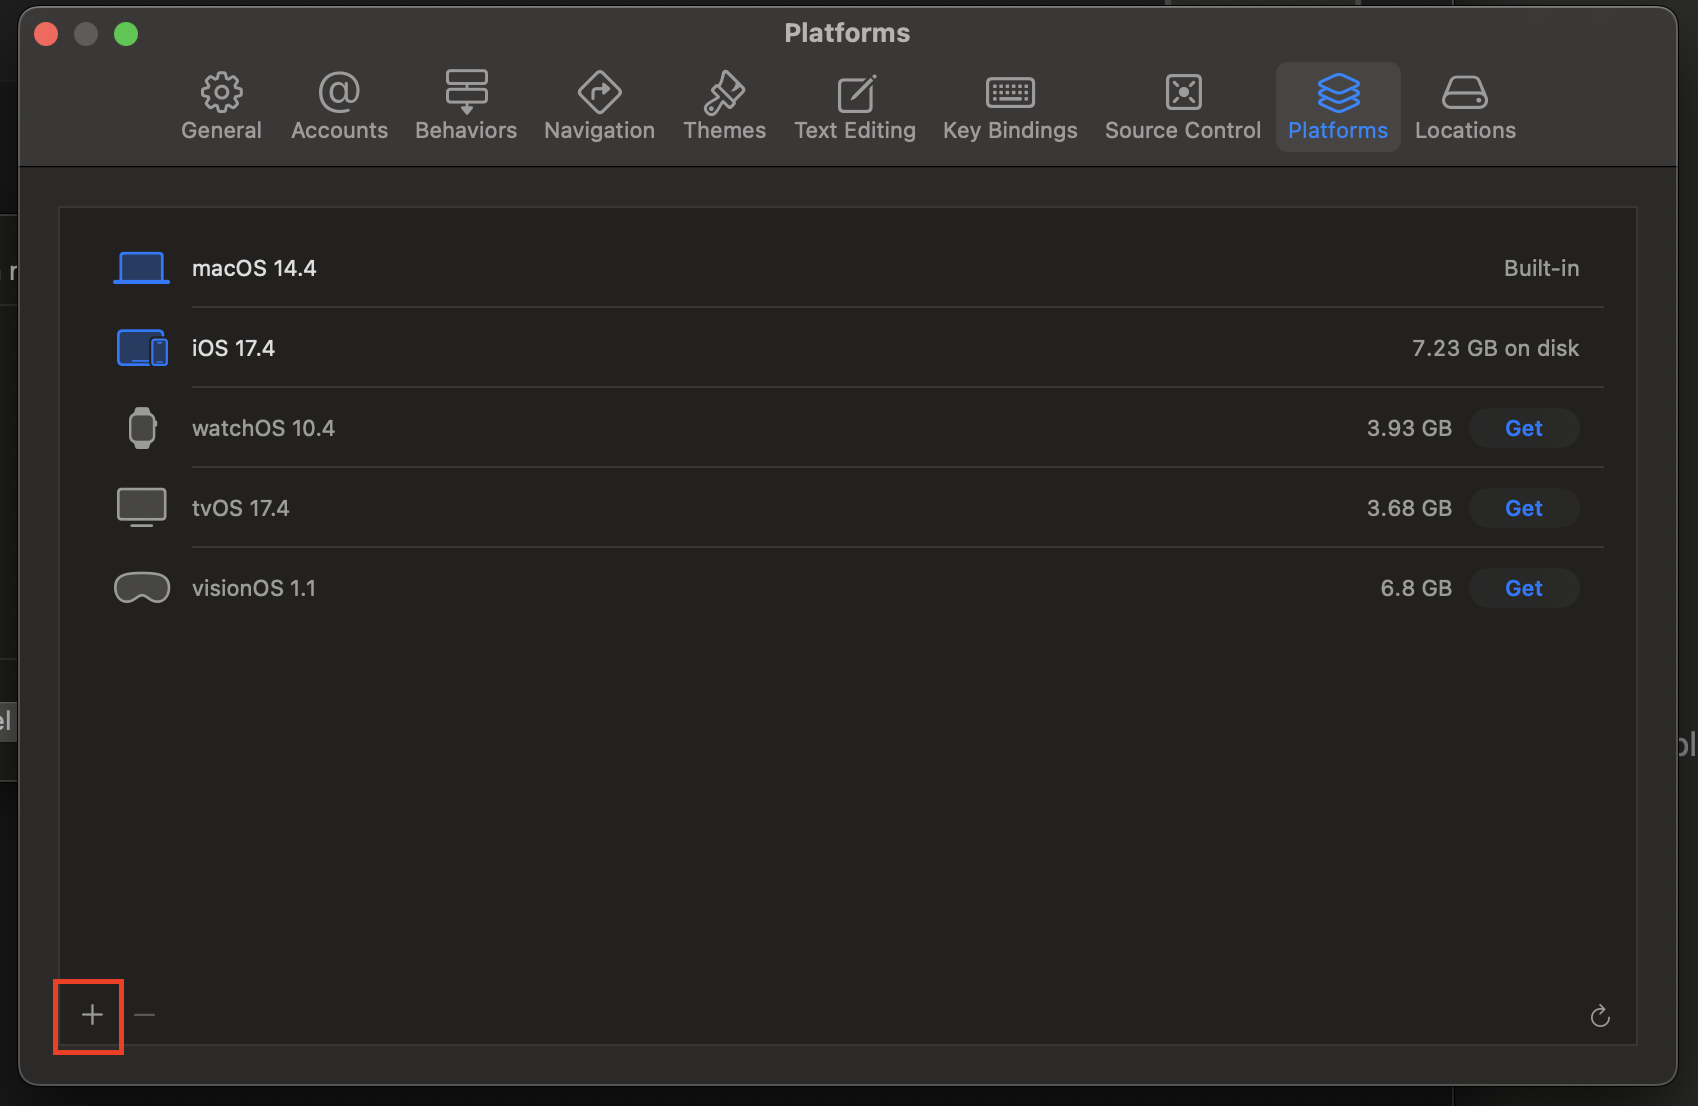
3. OS Version이 No Runtimes로 나와있다면 선택할 수 있는 OS가 없다는 뜻이므로 Download more simulator runtimes... 를 클릭합니다.

4. iOS 16.4 시뮬레이터를 설치합니다.

5. 추가된 OS 버전을 확인할 수 있습니다.

iPhone 8 Plus
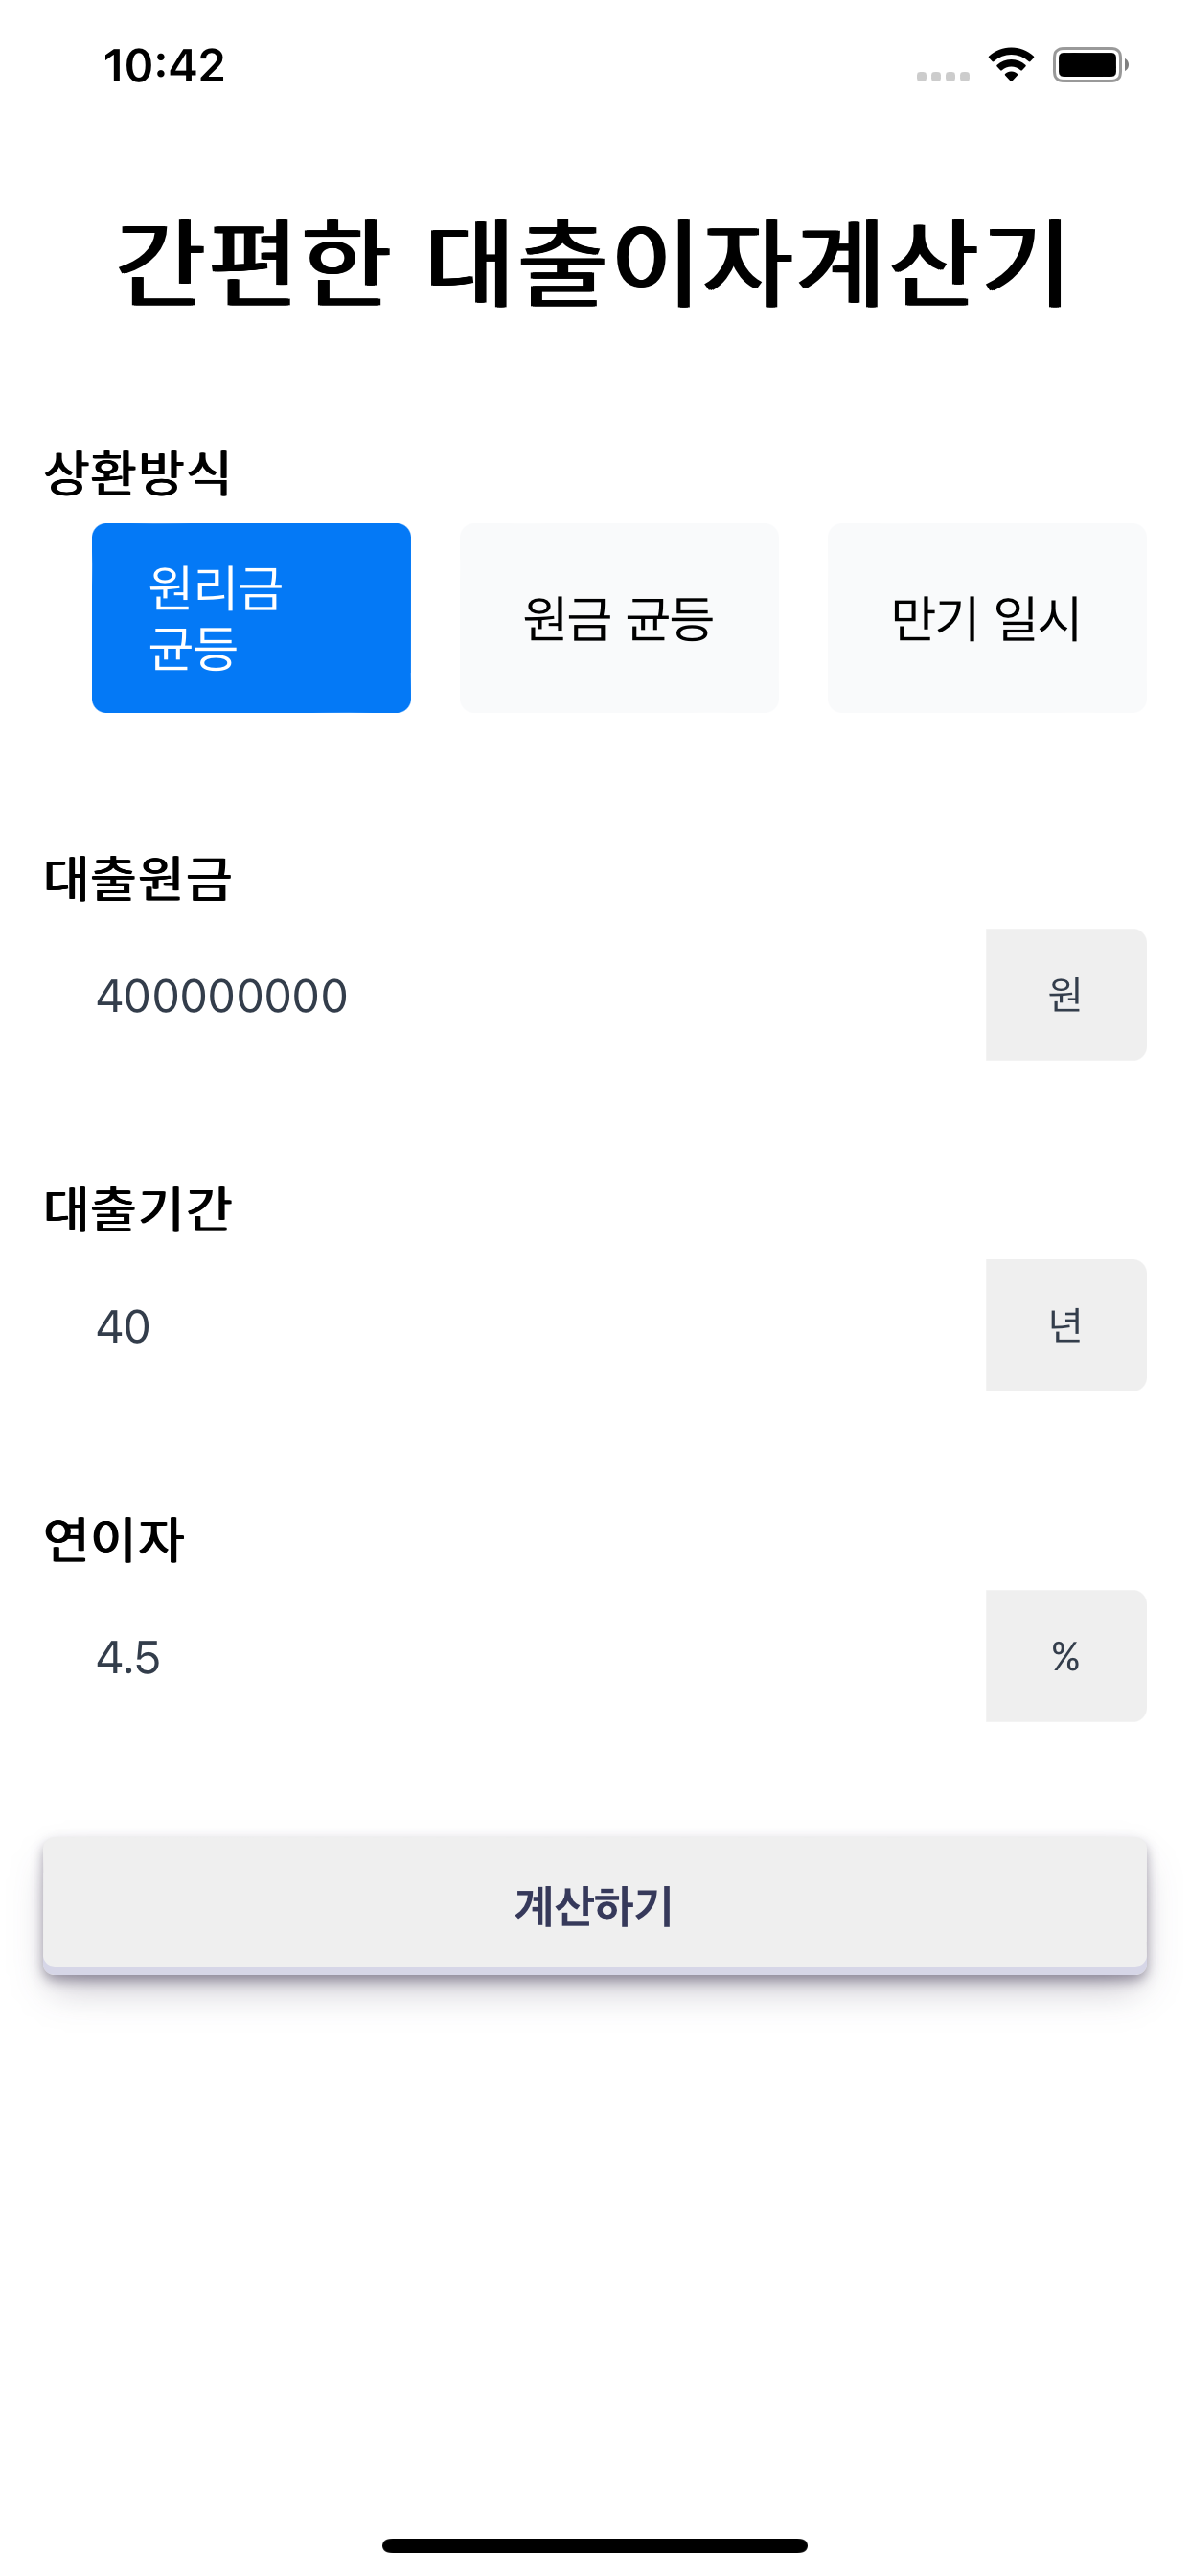

iPhone 11 Pro Max

iPad Pro 12.9 Inch

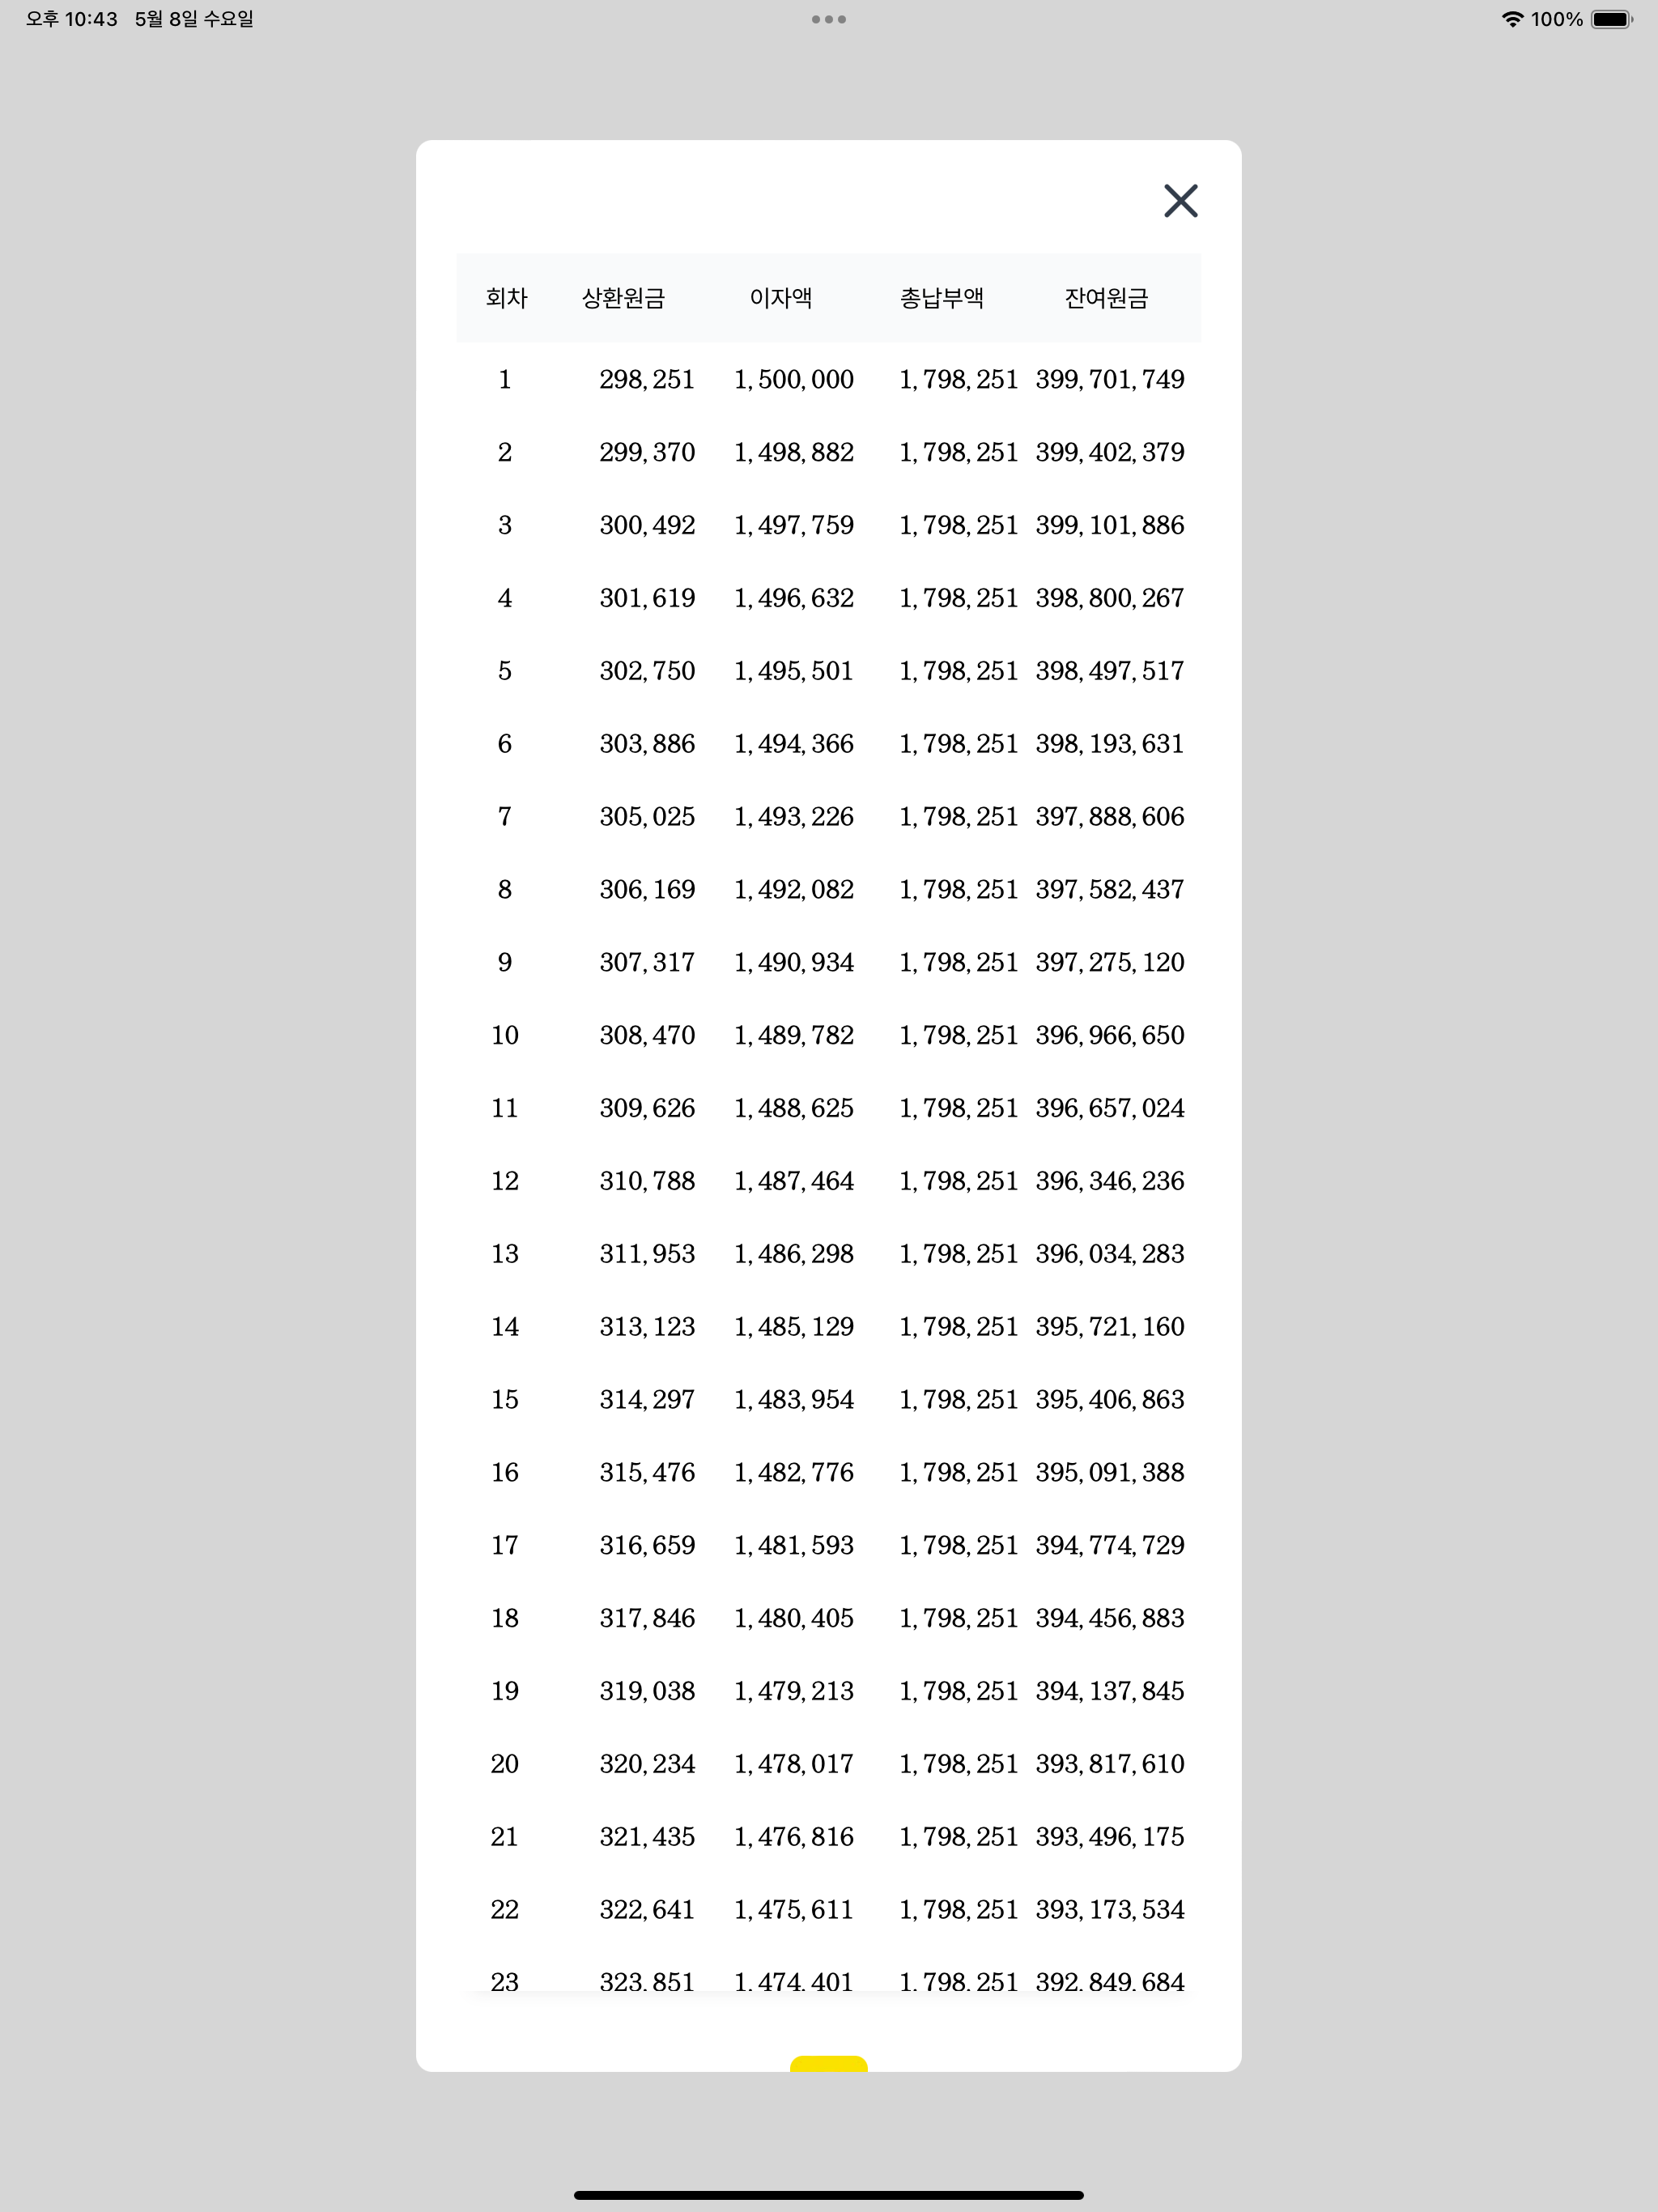
모든 이미지가 준비되었습니다. 이 이미지를 이용해 앱 스크린샷을 만들어보겠습니다. 앱 스크린샷을 쉽게 만들 수 있도록 제공해주는 사이트가 있습니다. 무료로 제공되며 원하는 템플릿을 선택해 커스텀할 수 있습니다.
여기서는 Food Template 3을 사용해보겠습니다.

디바이스를 선택하면 해당 디바이스로 전환됩니다.

화면 클릭 후 우측 Layout, Background, Icon, Title, Subtitle, Device, Device Tow(두개의 디바이스를 표시하는 경우)를 통해 스크린샷을 꾸밀 수 있습니다.

Title, Subtitle의 Family를 클릭해 폰트를 선택할 수 있습니다.

디바이스의 프레임도 변경할 수 있습니다.


원하는 문구 입력과 수정을 완료한 후 스크린샷이 준비되면 Export를 통해 완성본을 다운받습니다.


필요한 앱 스크린샷이 모두 준비되었습니다. 다음 포스팅에서는 준비된 이미지와 함께 스토어에 배포를 해보도록 하겠습니다.
전체 코드는 GitHub에서 확인하실 수 있습니다.
참고문서
flutter_native_splash | Flutter package
Customize Flutter's default white native splash screen with background color and splash image. Supports dark mode, full screen, and more.
pub.dev
'토이프로젝트' 카테고리의 다른 글
| [팀프로젝트]모바일앱 게시판 만들기 - 1편 : 설계 (0) | 2024.06.23 |
|---|---|
| [토이프로젝트]대출이자계산기 만들어보기 - 5편 : 플레이스토어와 앱스토어에 어플리케이션 배포하기 (0) | 2024.05.21 |
| [토이프로젝트]대출이자계산기 만들어보기 - 4편 : Flutter로 모바일 서비스 개발하기 (0) | 2024.05.02 |
| [토이프로젝트]대출이자계산기 만들어보기 - 4편 : Flutter로 모바일 서비스 개발하기 (0) | 2024.05.01 |
| [토이프로젝트]대출이자계산기 만들어보기 - 3편 : 웹 배포하기 (1) | 2024.04.27 |
소중한 공감 감사합니다.