새소식
반응형
본 포스팅은 스터디를 통해 작성한 글을 복사한 내용입니다.
여기서 더 많은 글들을 확인하실 수 있습니다.
푸쉬 수신은 디바이스의 상태에 따라 설정이 필요합니다.
디바이스 상태는 3가지로 나뉩니다.
그리고 푸쉬 수신을 위해서는 디바이스 상태와 플랫폼별 설정이 필요합니다.
먼저 Messaging 클래스를 작성합니다. 클래스내 모든 메소드는 static으로 동작하도록 구성했습니다.
Firebase와 Local notification 초기화를 담당하는 메소드입니다.
초기화시 등록되는 메소드는 다음과 같습니다.
_onIOSDidReceiveLocalNotification : iOS 10 버전 미만에서 실행되는 메세지 핸들러(요즘의 디바이스 버전에서는 실행될 일이 없기때문에 없어도 됩니다)
_onDidReceiveNotificationResponse : 푸쉬 알림 클릭시 실행되는 메세지 핸들러
_handleDataRemoteMessage : fcm을 통해 전달받은 데이터로 Local notification을 실행하는 메세지 핸들러
final FlutterLocalNotificationsPlugin flutterLocalNotificationsPlugin =
    FlutterLocalNotificationsPlugin();
const notificationColor = Color.fromRGBO(49, 130, 246, 1);

class Messaging {
    static late NotificationSettings _settings;
    static late FirebaseMessaging _messaging;
    static const _androidChannelId = 'OurChurchMessagingChannel';
    static const _androidChannelName = 'OurChurchMessagingChannel';
    static const _androidChannelDescription = 'OurChurchMessagingChannel';
    static const _androidTicker = 'OurChurchTicker';

    static Future init() async {
        await Firebase.initializeApp(
            options: DefaultFirebaseOptions.currentPlatform);

        const InitializationSettings initializationSettings =
            InitializationSettings(
          android: AndroidInitializationSettings('@mipmap/ic_launcher'),
          iOS: DarwinInitializationSettings(
              onDidReceiveLocalNotification: _onIOSDidReceiveLocalNotification),
        );

        // 로컬 푸시 알림 초기화
        await flutterLocalNotificationsPlugin.initialize(
          initializationSettings,
          onDidReceiveNotificationResponse: _onDidReceiveNotificationResponse,
        );

        await flutterLocalNotificationsPlugin
            .resolvePlatformSpecificImplementation<
                AndroidFlutterLocalNotificationsPlugin>()
            ?.createNotificationChannel(const AndroidNotificationChannel(
                _androidChannelId, _androidChannelName,
                description: _androidChannelDescription,
                importance: Importance.max));

        _messaging = FirebaseMessaging.instance;
        _settings = await _messaging.requestPermission(
          badge: true,
          alert: true,
          sound: true,
        );

        // Foreground에 있는 동안 메세지 처리 핸들러 등록
        FirebaseMessaging.onMessage.listen(_handleDataRemoteMessage);
    }
}
초기화 메소드는 main.dart에서 아래와 같이 실행합니다.
await Messaging.init();
푸쉬 수신을 위해서는 사용자로부터 알림 허용을 받아야 합니다. 각 플랫폼별 권한 처리를 위한 구성을 다음과 같이 했습니다.
먼저 iOS와 Android 13버전 미만에서는 FirebaseMessaging의 requestPermission을 통해 권한을 얻고 Android 13버전 이상부터는 Permission.notification.request()를 통해 권한을 얻어옵니다.
static bool checkPermission() {
    AuthorizationStatus status = _settings.authorizationStatus;

    if (status == AuthorizationStatus.authorized ||
        status == AuthorizationStatus.provisional) {
      return true;
    } else {
      return false;
    }
}
그리고 main.dart에 권한 체크를 위한 메소드 requestAlarmPermission()을 작성하고 실행합니다.
이 때 권한 체크와 더불어 푸쉬 토큰을 호출했습니다. 그리고 푸쉬 토큰 값은 서버에 저장해두었습니다.
Future<void> requestAlarmPermission() async {
    var isGranted = Messaging.checkPermission();
    var token = await Messaging.getPushToken();

    if (isGranted) {
		// iOS 권한 요청 승인
    } else {
      var result = await Permission.notification.request();

      if (result.isGranted) {
		// Android 권한 요청 승인
      } else {
		// 모든 플랫폼 권한 요청 거부
      }
    }
}
푸쉬 토큰 호출 메소드는 Messaging 클래스에 다음과 같습니다.
static Future<String?> getPushToken() async {
    try {
      return await _messaging.getToken();
    } catch (error) {
      return null;
    }
}
_onIOSDidReceiveLocalNotification()
static void _onIOSDidReceiveLocalNotification(
      int id, String? title, String? body, String? payload) {
    _showMessage(id.toString(), title, body);
}
_onDidReceiveNotificationResponse()
static void _onDidReceiveNotificationResponse(
      NotificationResponse? response) {
	// 푸쉬 알림을 클릭한 경우 실행되는 핸들러
}
_handleDataRemoteMessage()
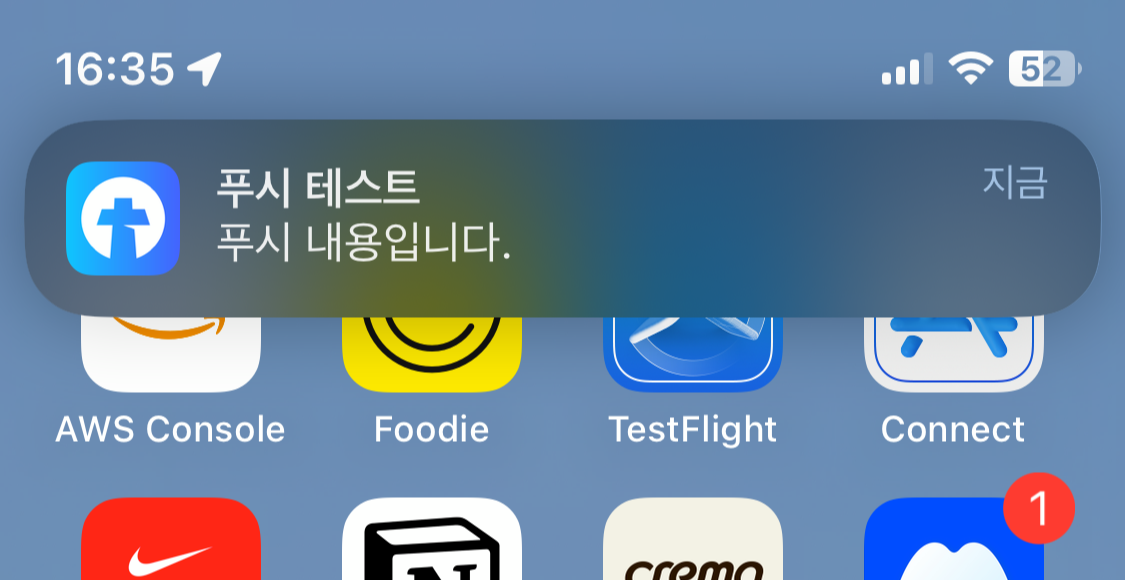
푸쉬 수신시에 앱 아이콘에는 뱃지가 자동 생성됩니다. 그런데 iOS에서는 뱃지를 수동으로 생성해주어야 합니다.
RemoteMessage안에는 푸쉬 송신을 하는 부분과 맞춰 데이터를 핸들링 할 수 있습니다. (더보기 참고)
@pragma('vm:entry-point')
static Future<void> _handleDataRemoteMessage(RemoteMessage message) async {
    Map<String, dynamic> data = message.data;

    if (data.isEmpty) return;

    // IOS는 푸시 뱃지를 수동으로 갱신
    if (Platform.isIOS && data['badge'] != null) {
      int badgeCount = int.parse(data['badge']);
      if (badgeCount == 0) {
        FlutterAppBadger.removeBadge();
      } else {
        FlutterAppBadger.updateBadgeCount(1);
      }
    }

    if (data['id'] == null) return;

    return _showMessage(data["id"], data["title"], data["content"]);
}최초 개발시에는 data 섹션을 통해 푸쉬 알림 내용을 전달했는데 notification이 없는 경우 iOS의 백그라운드 상태에서 푸쉬가 수신되지 않는 현상이 있었습니다. 또 apns 설정은 필수로 들어가야 iOS에서 푸쉬 수신이 가능합니다. sound 옵션이 없는 경우에 백그라운드에서 푸쉬가 진동없이 오는 현상이 있었습니다.
const message = {
notification: {
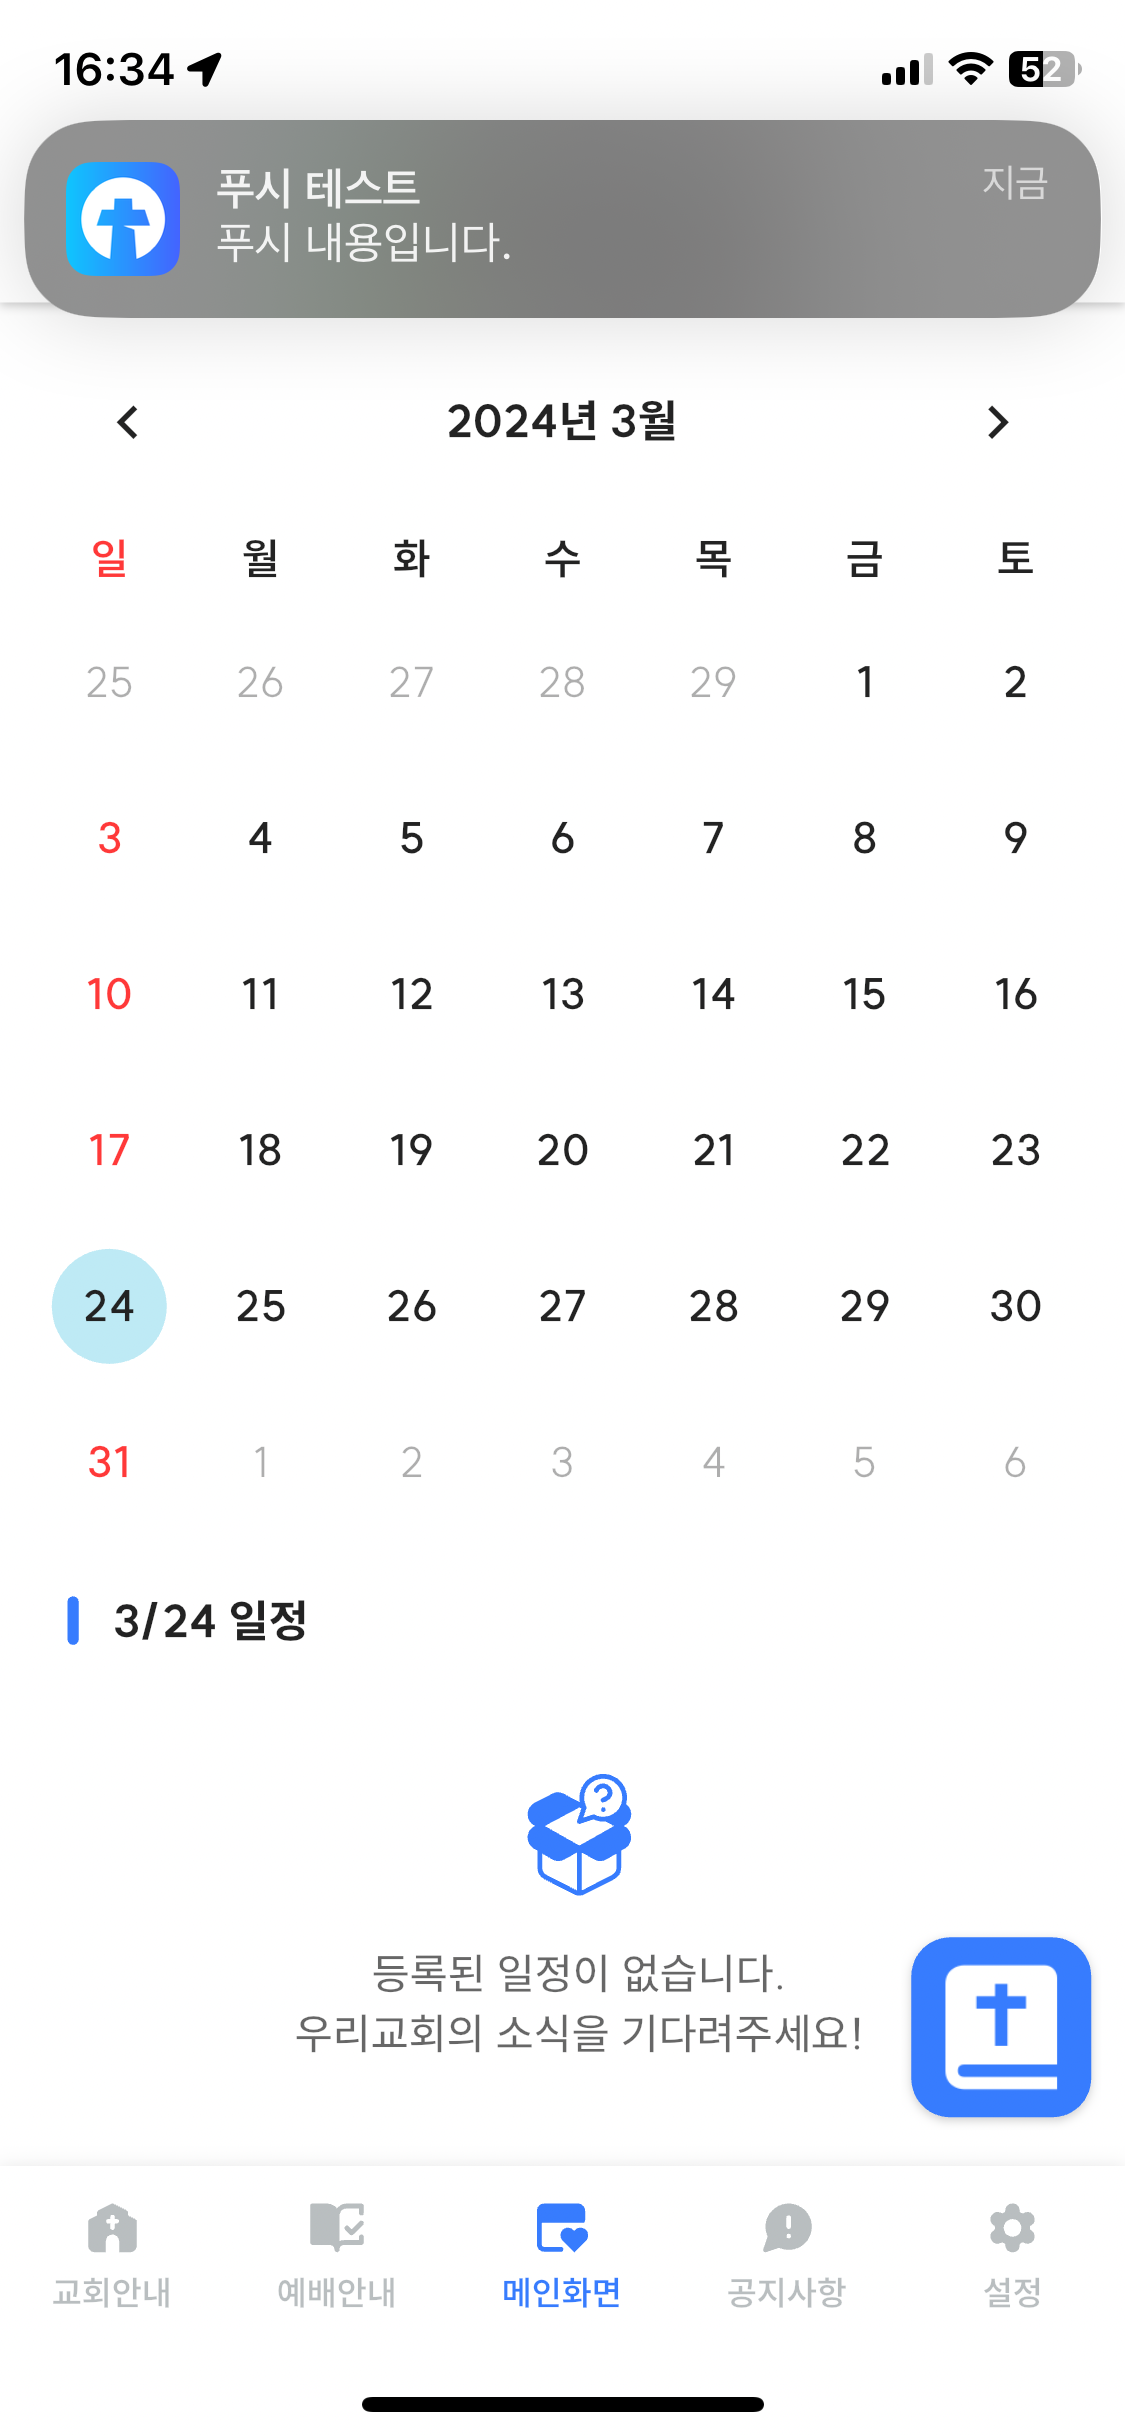
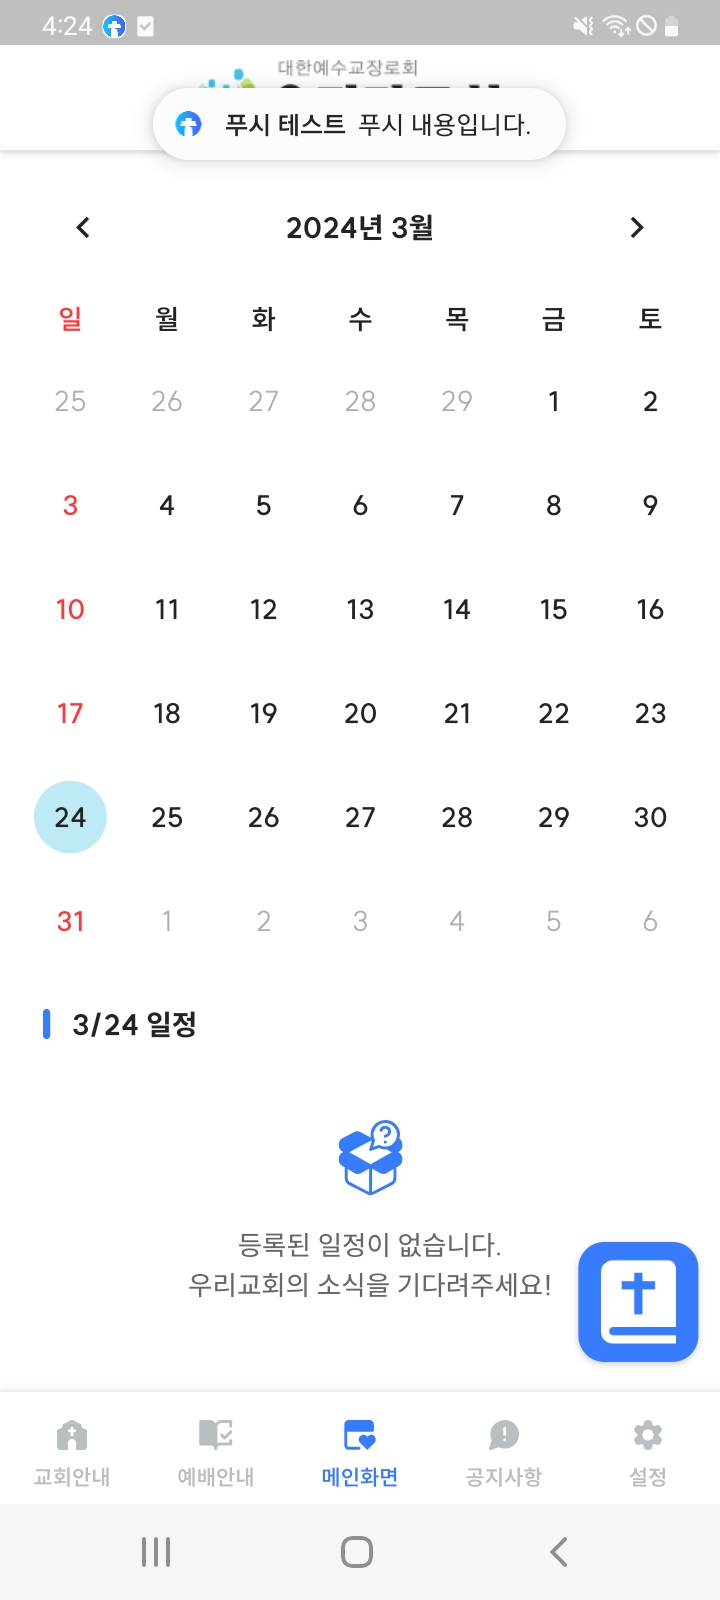
title: "푸시 테스트",
body: "푸시 내용입니다.",
},
data: {
id: generateRandomString(6),
title: "푸시 테스트",
content: "푸시 내용입니다.",
},
token: token,
apns: {
payload: {
aps: {
contentAvailable: true,
badge: 1,
sound: "default",
},
},
},
};
registerBackgroundMessageHandler()
Background 상태에서 푸쉬를 받기 위한 메세지 핸들러입니다.
static void registerBackgroundMessageHandler() {
    if (Platform.isIOS) {
      return FirebaseMessaging.onBackgroundMessage(_handleDataRemoteMessage);
    }
}
해당 메소드는 main.dart에서 실행합니다.
await Messaging.init();
Messaging.registerBackgroundMessageHandler();
_showMessage(), _show()
마지막으로 fcm을 통해 받은 데이터를 Local notification을 팝업시키는 메소드입니다.
static Future<void> _showMessage(
  String id, String? title, String? body) async {
    const NotificationDetails notificationDetail = NotificationDetails(
        android: AndroidNotificationDetails(
            _androidChannelId, _androidChannelName,
            color: notificationColor,
            channelDescription: _androidChannelDescription,
            importance: Importance.max,
            priority: Priority.high,
            ticker: _androidTicker));

    return _show(id, title, body, notificationDetail);
}

static Future<void> _show(
    String id,
    String? title,
    String? body,
NotificationDetails notificationDetail,
) {
    List payload = [id];

    return flutterLocalNotificationsPlugin.show(
        id.hashCode, title, body, notificationDetail,
        payload: jsonEncode(payload));
}
안드로이드의 애뮬레이터에서는 푸쉬 테스트가 가능하지만, 아이폰 시뮬레이터는 푸쉬 테스트를 할 수 없습니다. 실제 기기 연결 후 테스트하시는 것을 추천드립니다.
Foreground 상태
Background 상태
참고문서
Flutter 앱에서 메시지 수신 | Firebase 클라우드 메시징
Google I/O 2023에서 Firebase의 주요 소식을 확인하세요. 자세히 알아보기 의견 보내기 Flutter 앱에서 메시지 수신 컬렉션을 사용해 정리하기 내 환경설정을 기준으로 콘텐츠를 저장하고 분류하세요.
firebase.google.com
| [토이프로젝트]Next.js를 이용해 대출이자계산기 만들어보기 - 4편 : Flutter로 모바일 서비스 개발하기 (0) | 2024.05.01 |
|---|---|
| [Flutter]Firebase 클라우드 메세징 사용해보기 - 1편 : 설치 (0) | 2024.03.24 |
| [ERROR]"Uncaught TypeError: Cannot read property 'cancel' of undefined" (0) | 2023.12.28 |
| [Error]DT_TOOLCHAIN_DIR cannot be used to evaluate LIBRARY_SEARCH_PATHS, use TOOLCHAIN_DIR instead (0) | 2023.12.04 |
| [Flutter]아이콘 변경하기 (0) | 2023.11.16 |
소중한 공감 감사합니다