새소식
반응형
최근 대량의 파일을 관리할 일이 생겨 운영중인 서비스에 S3를 도입하게 되었습니다. 오랜만에 사용하게 돼서 겸사겸사 포스팅을 남겨봅니다.
※ 테스트 환경
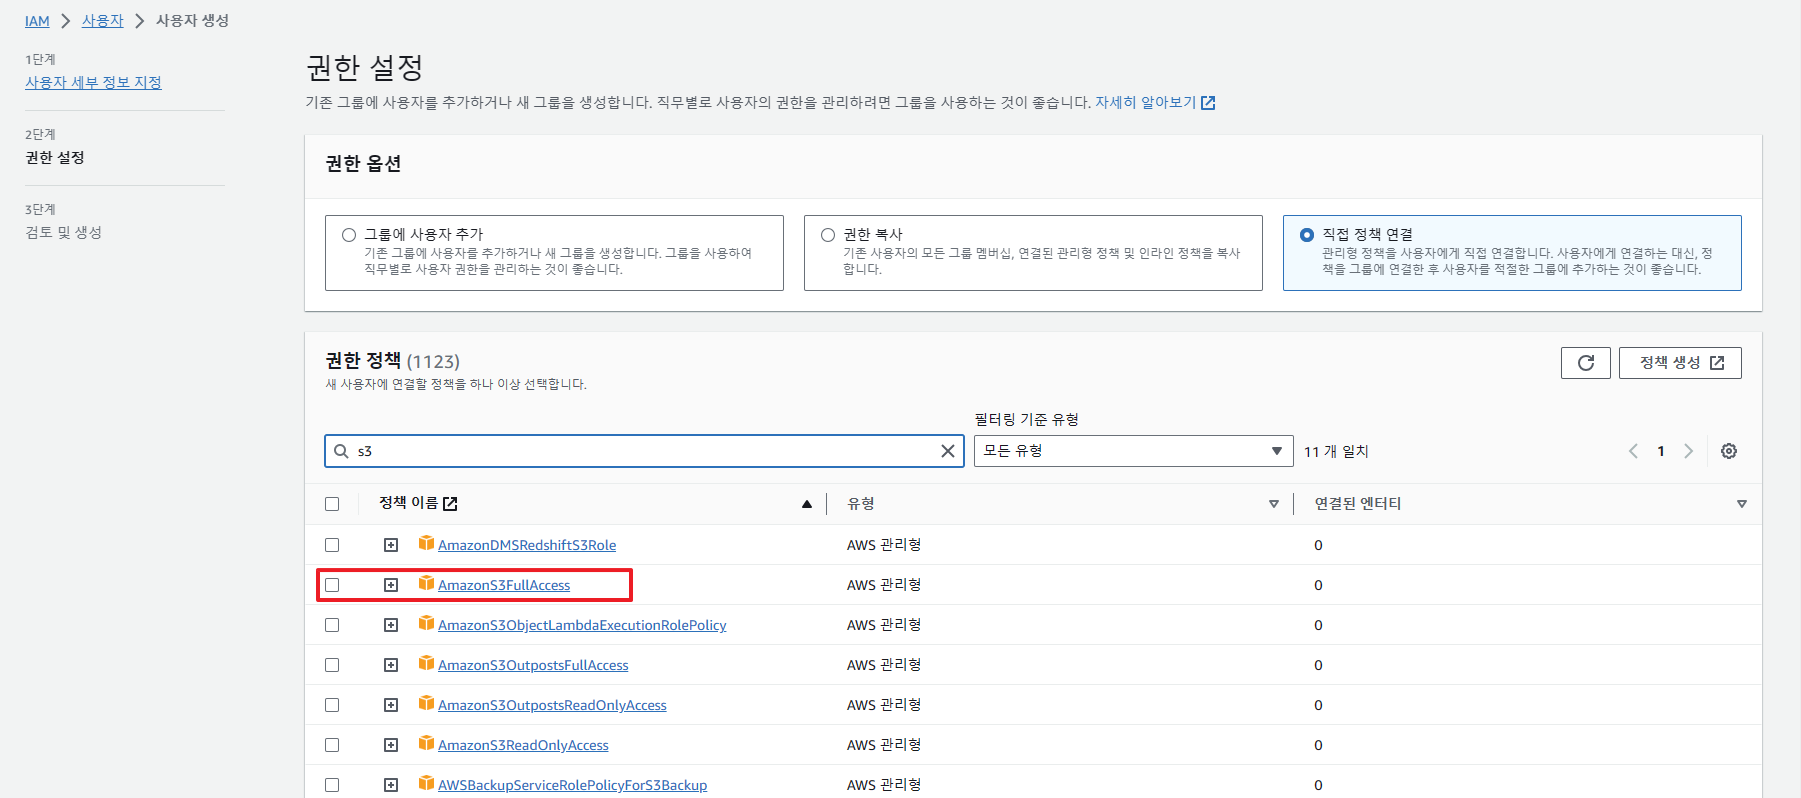
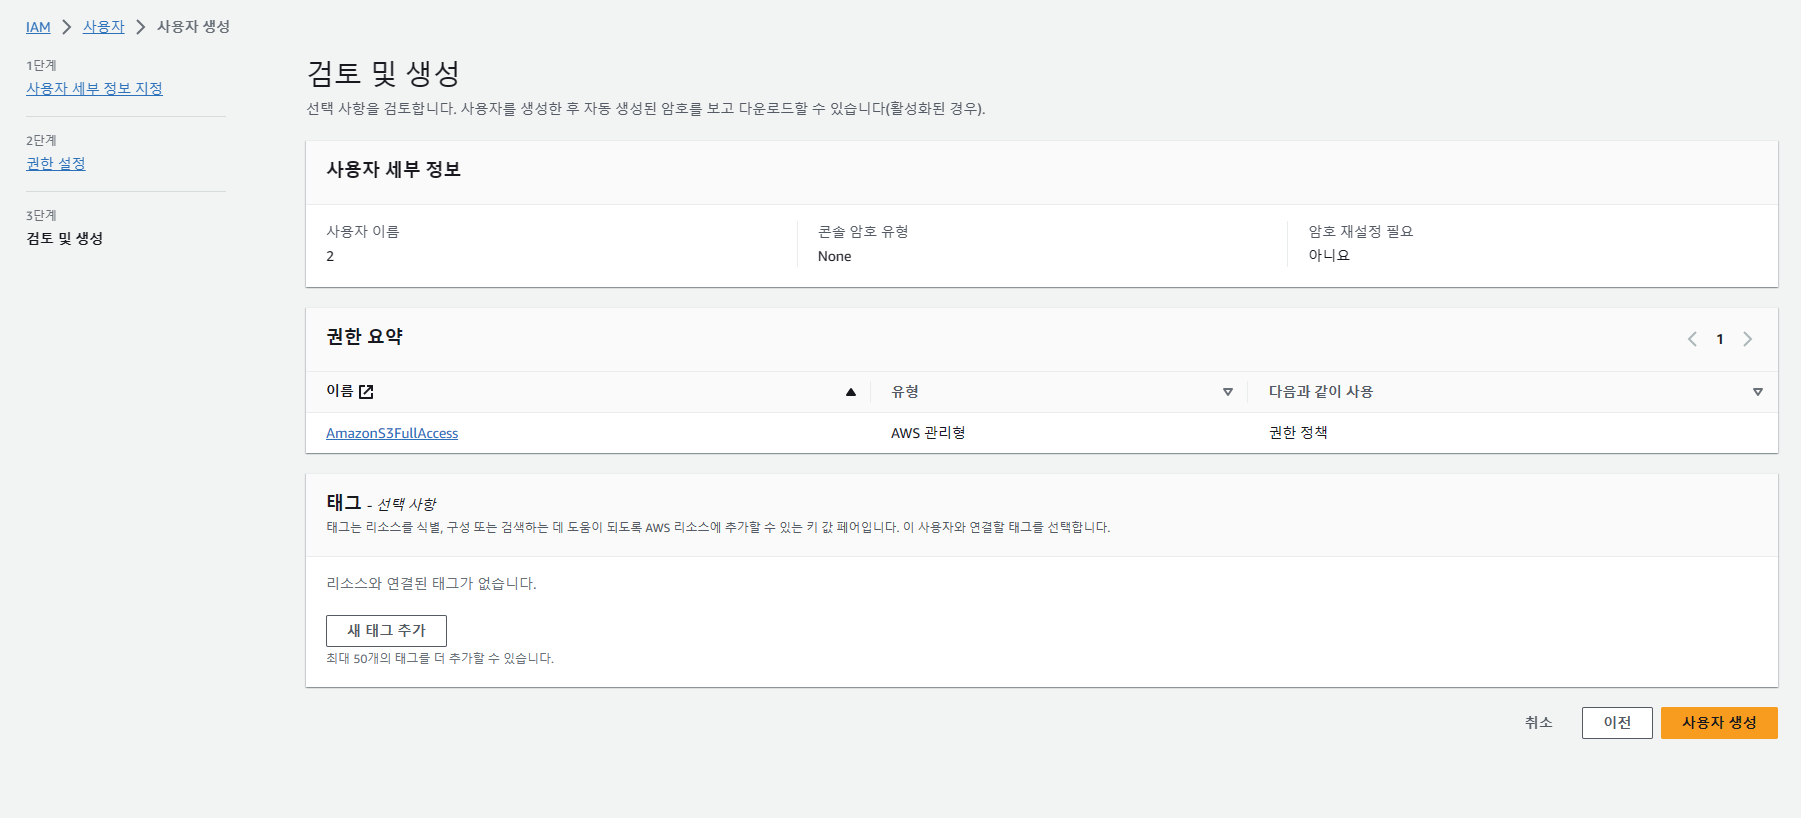
먼저 S3 접근 권한을 주기 위한 IAM 계정을 생성합니다.

AmazonsS3FullAccess 권한을 체크합니다.
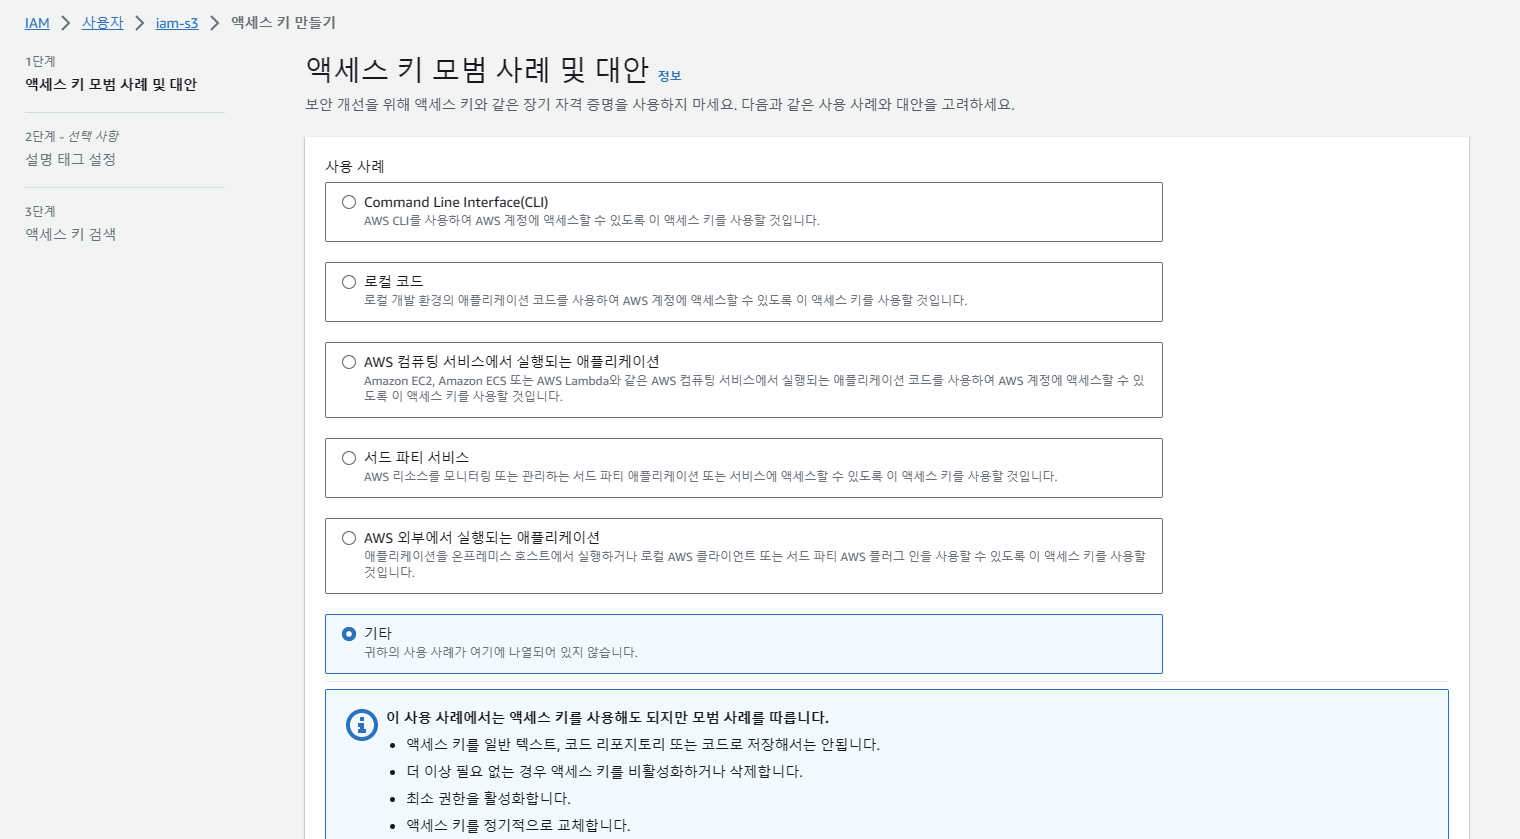
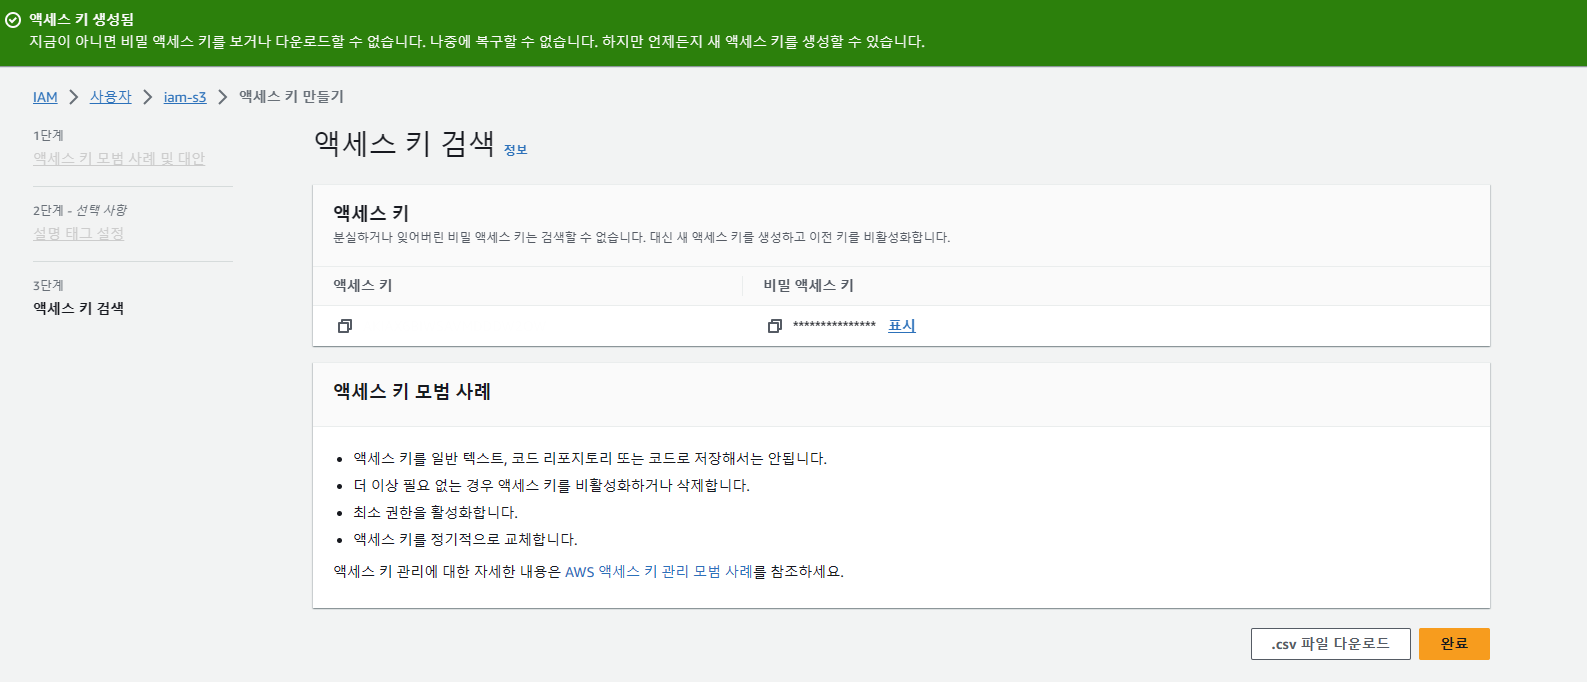
생성된 IAM 계정에서 액세스 키 만들기를 클릭합니다.

사용 사례에 관한 내용이기때문에 어떤 사례를 선택하든 무방합니다. 여기서는 기타를 선택하고 넘어가겠습니다.
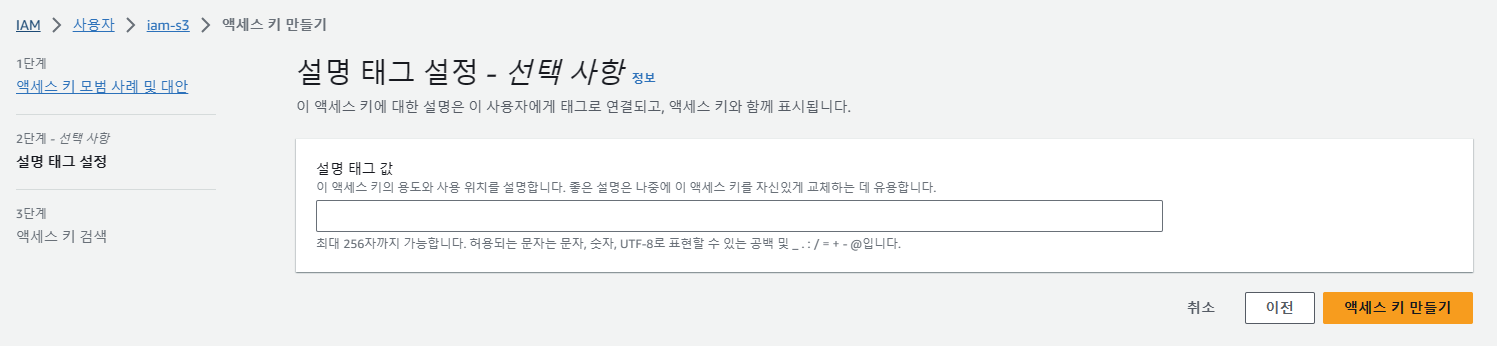
생성된 액세스 키는 csv파일로 보관합니다. 해당 파일을 열어보면 액세스키와 시크릿키가 등록되어있습니다.
S3는 파일 저장소를 버킷이라는 공간에 보관합니다.
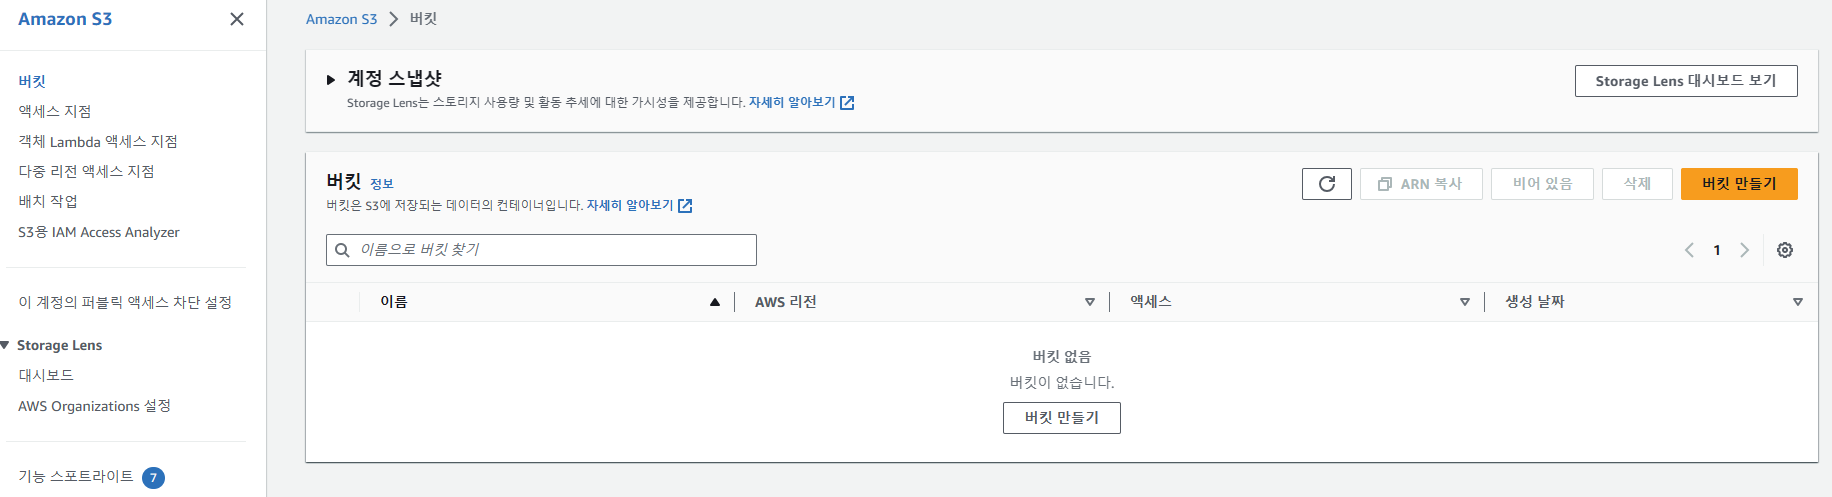
모든 설정은 기본으로 생성합니다.

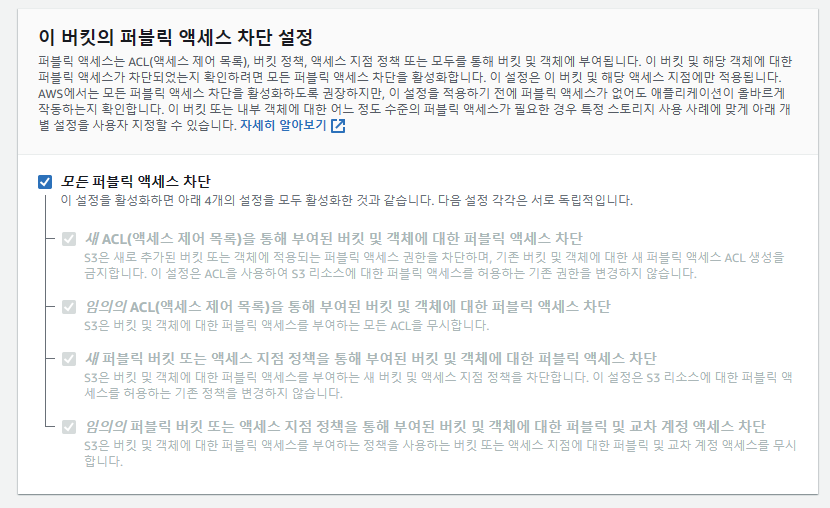
퍼블릭 액세스 차단을 해제하게 되면 누구나 버킷에 액세스하고 다운로드할 수 있게 됩니다. 하지만 AWS에서는 모든 버킷을 공개하는 것보다 요청에 응답하고 인증을 처리할 수 있는 API 서버를 버킷 앞에 두기를 권고하고 있습니다.
[maven]
<!-- AWS S3 -->
<dependency>
    <groupId>org.springframework.cloud</groupId>
    <artifactId>spring-cloud-starter-aws</artifactId>
    <version>2.2.6.RELEASE</version>
</dependency>
[gradle]
// https://mvnrepository.com/artifact/org.springframework.cloud/spring-cloud-starter-aws
implementation group: 'org.springframework.cloud', name: 'spring-cloud-starter-aws', version: '2.2.6.RELEASE'
application-properties
# AWS 설정
cloud.aws.credentials.access-key=액세스 키 입력
cloud.aws.credentials.secret-key=시크릿 키 입력
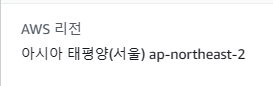
cloud.aws.region.static=ap-northeast-2
cloud.aws.s3.bucket.name=버킷명리전 값은 버킷을 만들면서 확인할 수 있습니다.
S3 접근을 위한 Config 클래스를 생성합니다.
(AmazonS3 인터페이스를 상속받는) AmazonS3Client 클래스를 AmazonS3ClientBuilder를 통해 생성하고 빈으로 등록합니다.
@Configuration
public class AwsS3Config {

    @Value("${cloud.aws.credentials.access-key}")
    private String accessKey;

    @Value("${cloud.aws.credentials.secret-key}")
    private String secretKey;

    @Value("${cloud.aws.region.static}")
    private String region;

    @Bean
    public AmazonS3Client amazonS3Client() {
        AWSCredentials awsCredentials = new BasicAWSCredentials(accessKey, secretKey);

        return (AmazonS3Client) AmazonS3ClientBuilder.standard()
                .withRegion(region)
                .withCredentials(new AWSStaticCredentialsProvider(awsCredentials))
                .build();
    }
}
파일을 전달받아 S3에 업로드할 메소드를 생성합니다.
@Service
@RequiredArgsConstructor
public class AwsS3Service {

    @Value("${cloud.aws.s3.bucket.name}")
    private String bucket;

    private final AmazonS3Client amazonS3Client;

    public String upload(MultipartFile multipartFile) throws Exception {
        String fileName = UUID.randomUUID() + "-" + multipartFile.getOriginalFilename();

        ObjectMetadata metadata= new ObjectMetadata();
        metadata.setContentType(multipartFile.getContentType());
        metadata.setContentLength(multipartFile.getSize());

        amazonS3.putObject(bucket, fileName, multipartFile.getInputStream(), metadata);

        return fileName;
    }
}
@Controller
@RequiredArgsConstructor
public class TestController {

	private final AwsS3Service awsS3Service;

	@PostMapping(value="/upload")
	public String upload(
            @RequestParam(value="myFile") MultipartFile multipartFile
	) throws Exception {
		awsS3Service.upload(multipartFile);

		return "/home";
	}
}
간단히 타임리프 템플릿을 이용해 테스트를 해봅니다.
<form action="/upload" method="post" enctype="multipart/form-data">
    <input type="file" name="myFile">

    <button>Send the file</button>
</form>

public ResponseEntity<byte[]> download(String s3FileName) throws Exception {
    S3Object s3Object = amazonS3.getObject(new GetObjectRequest(bucket, s3FileName));
    S3ObjectInputStream s3ObjectInputStream = s3Object.getObjectContent();

    byte[] bytes = IOUtils.toByteArray(s3ObjectInputStream);

    String fileName = URLEncoder.encode(s3FileName, "UTF-8").replaceAll("\\+", "%20");

    HttpHeaders httpHeaders = new HttpHeaders();
    httpHeaders.setContentType(MediaType.APPLICATION_OCTET_STREAM);
    httpHeaders.setContentLength(bytes.length);
    httpHeaders.setContentDispositionFormData("attachment", fileName);

    return new ResponseEntity<>(bytes, httpHeaders, HttpStatus.OK);
}
@GetMapping("/download")
public ResponseEntity<byte[]> download(
	@RequestParam(value="file") String fileName
) throws Exception {
    return awsS3Service.download(fileName);
}
파일 업로드시 생성된 파일명을 통해 접근합니다.
=> http://localhost:8080/download?file=0b94dea2-4246-46b8-8023-5356755a448b-database.png

의존성 주입 후 아래와 같은 에러가 발생할 수 있는데 해당 에러는 애플리케이션 환경이 aws 환경이 아니어서 발생하는 에러입니다.
@SpringBootApplication에 exclude 옵션을 추가해주면 해결됩니다.
com.amazonaws.SdkClientException: Failed to connect to service endpoint:@SpringBootApplication(
exclude = {
org.springframework.cloud.aws.autoconfigure.context.ContextInstanceDataAutoConfiguration.class,
org.springframework.cloud.aws.autoconfigure.context.ContextStackAutoConfiguration.class,
org.springframework.cloud.aws.autoconfigure.context.ContextRegionProviderAutoConfiguration.class
}
)
public class WebApplication extends SpringBootServletInitializer {
| [EC2]Putty로 Root 계정 접속하기 (0) | 2024.02.05 |
|---|---|
| [Elastic IP]탄력적 IP 한도 증가 (0) | 2023.12.01 |
| [AWS]SCP 파일 업로드 (0) | 2022.12.27 |
| [EC2]디스크 용량 늘리기 (0) | 2022.09.26 |
| [CloudWatch]SNS 알림 설정 (0) | 2022.08.18 |
소중한 공감 감사합니다